
Last updated September 20, 2026
Free on-site gate assessment - hinges, posts, and your LiftMaster or Nice gate operator checked before anything is quoted
The assessment is free and the quote is the invoice.
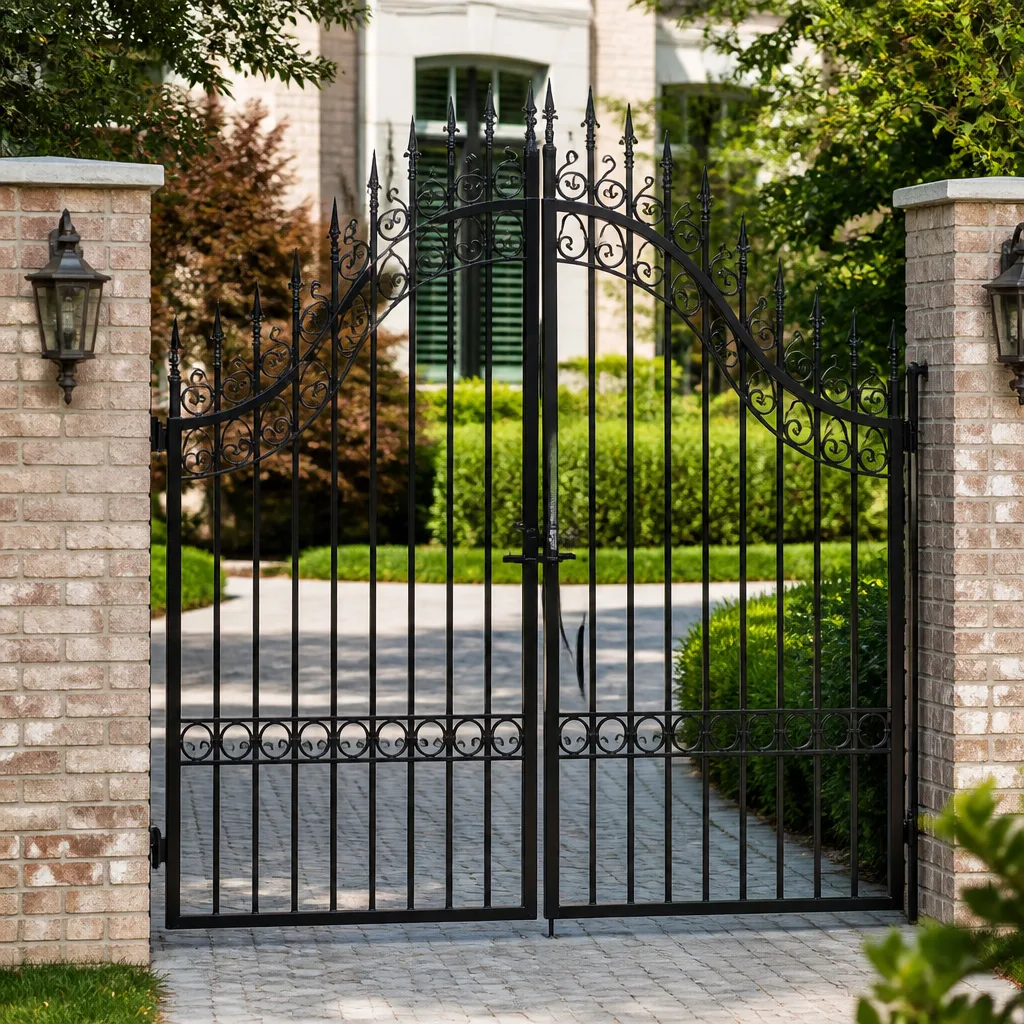
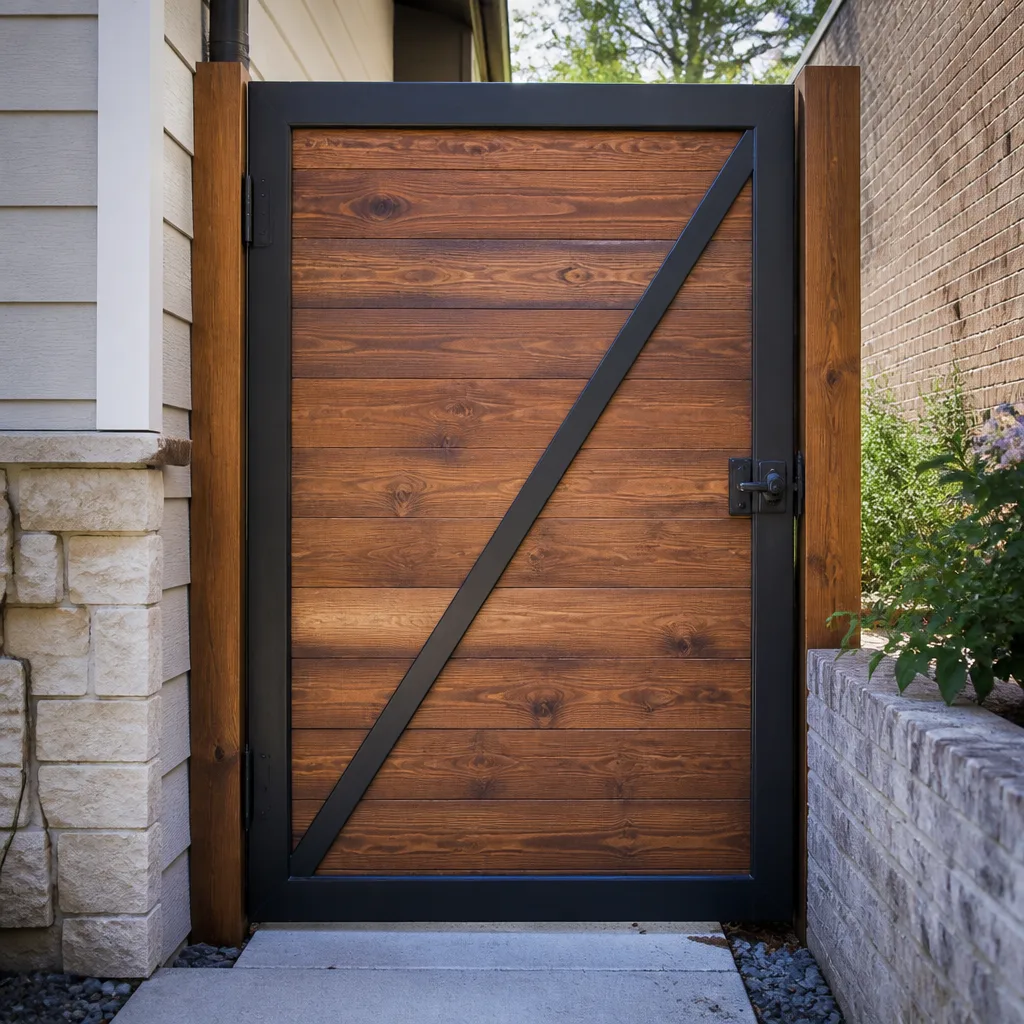
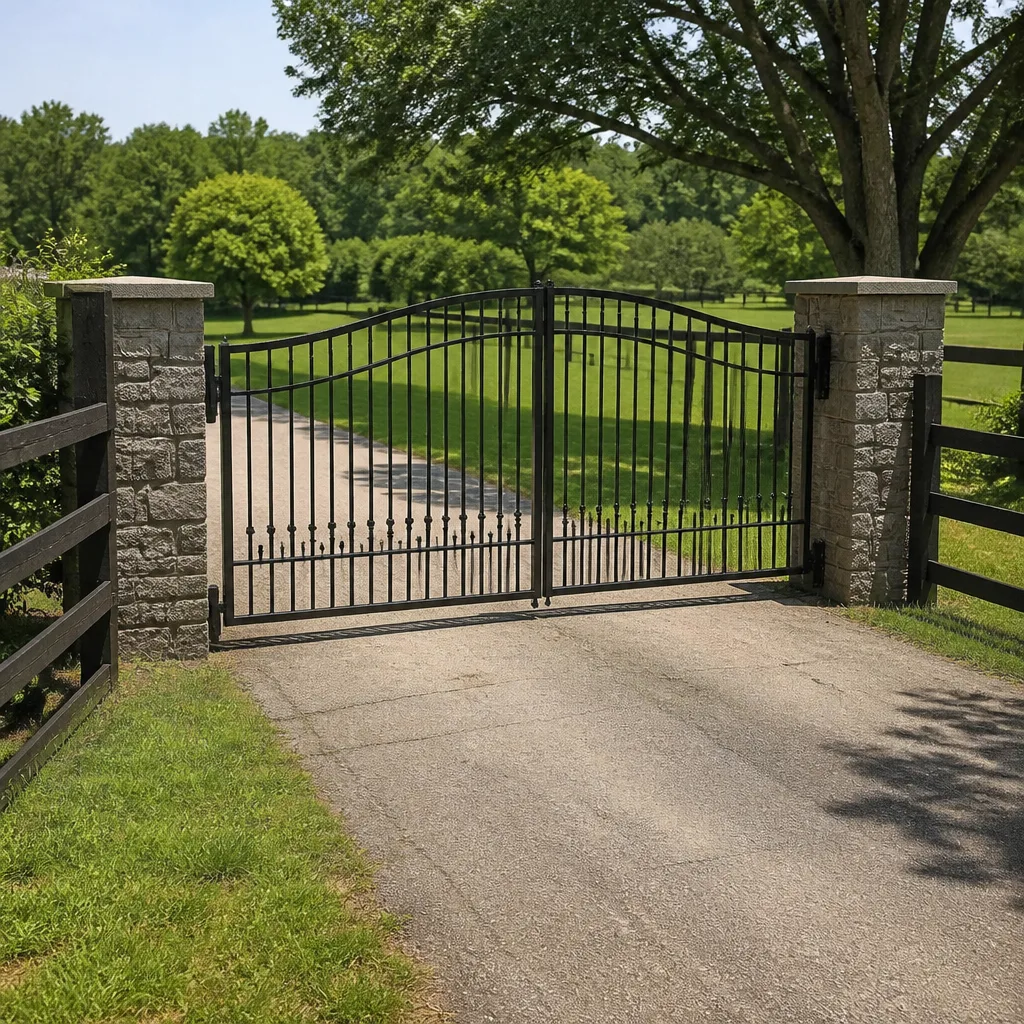
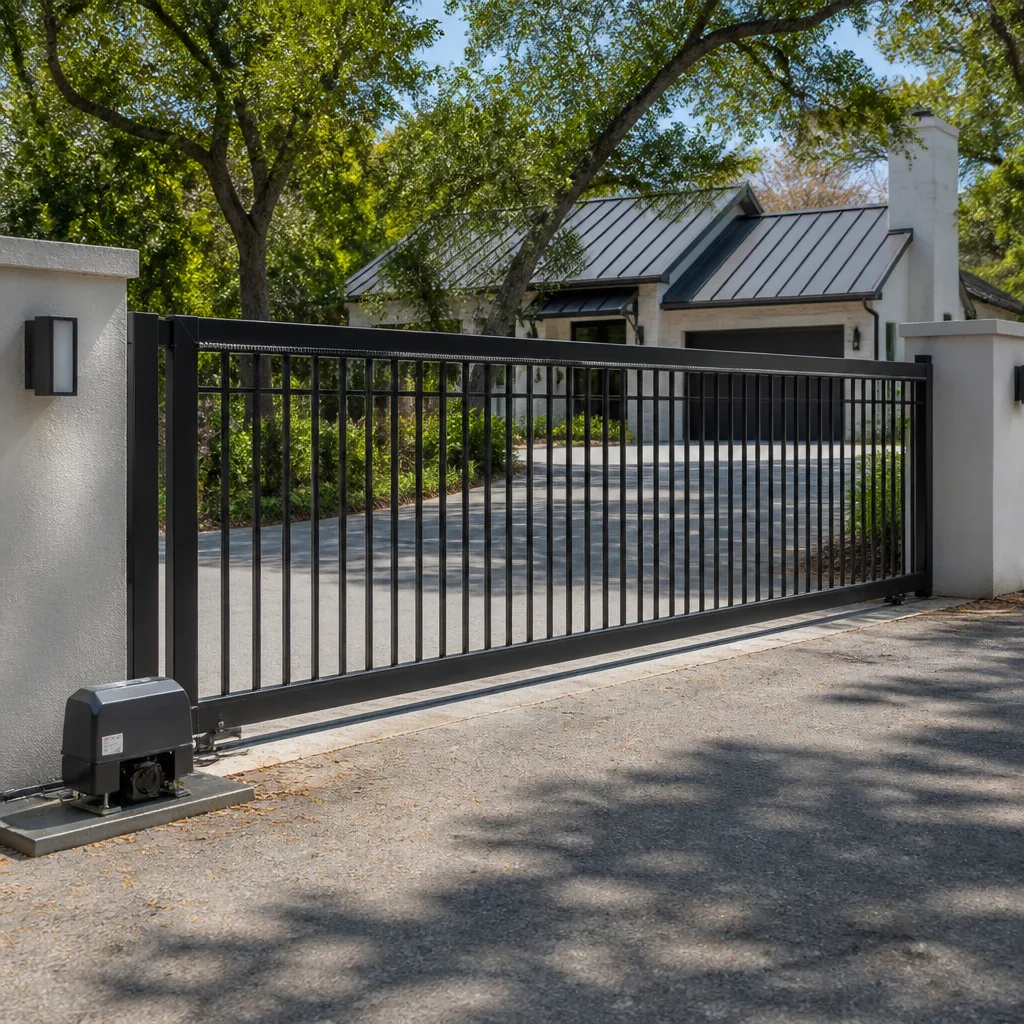
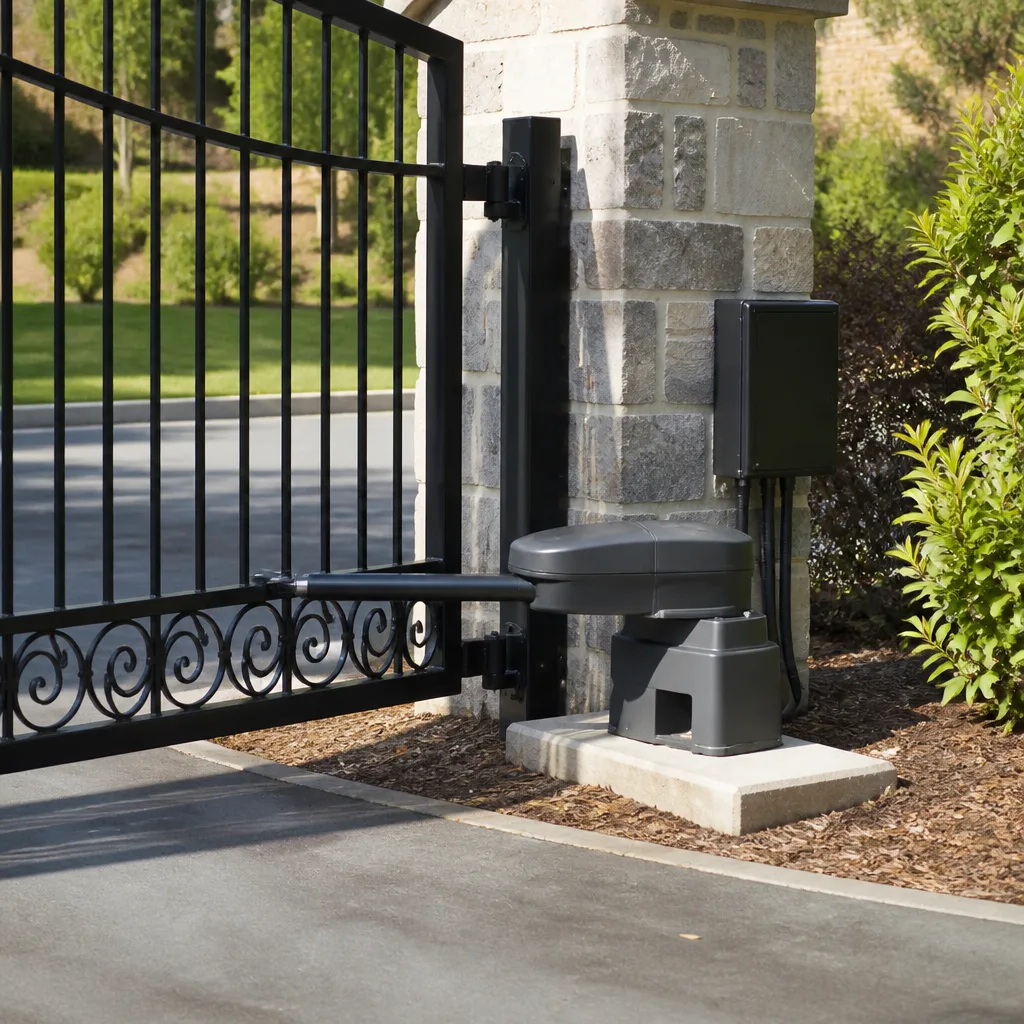
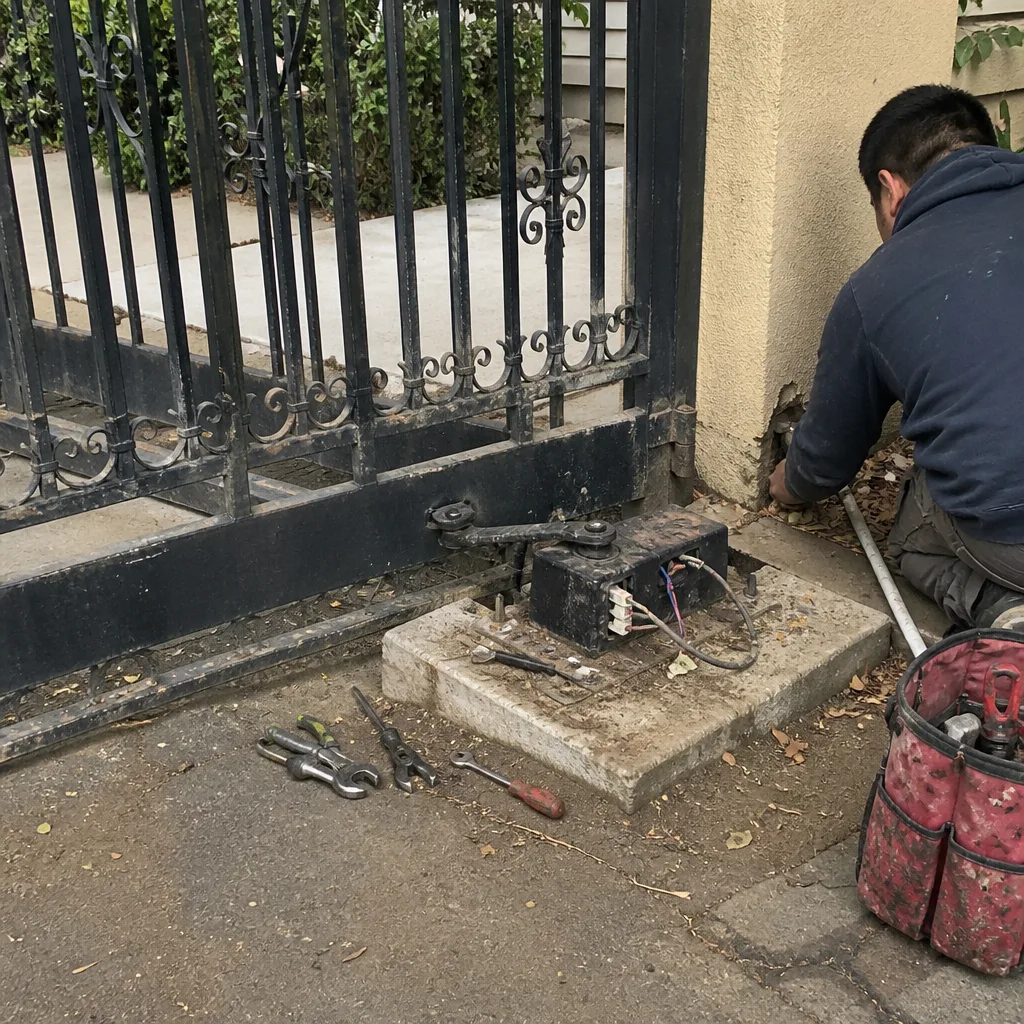 Before
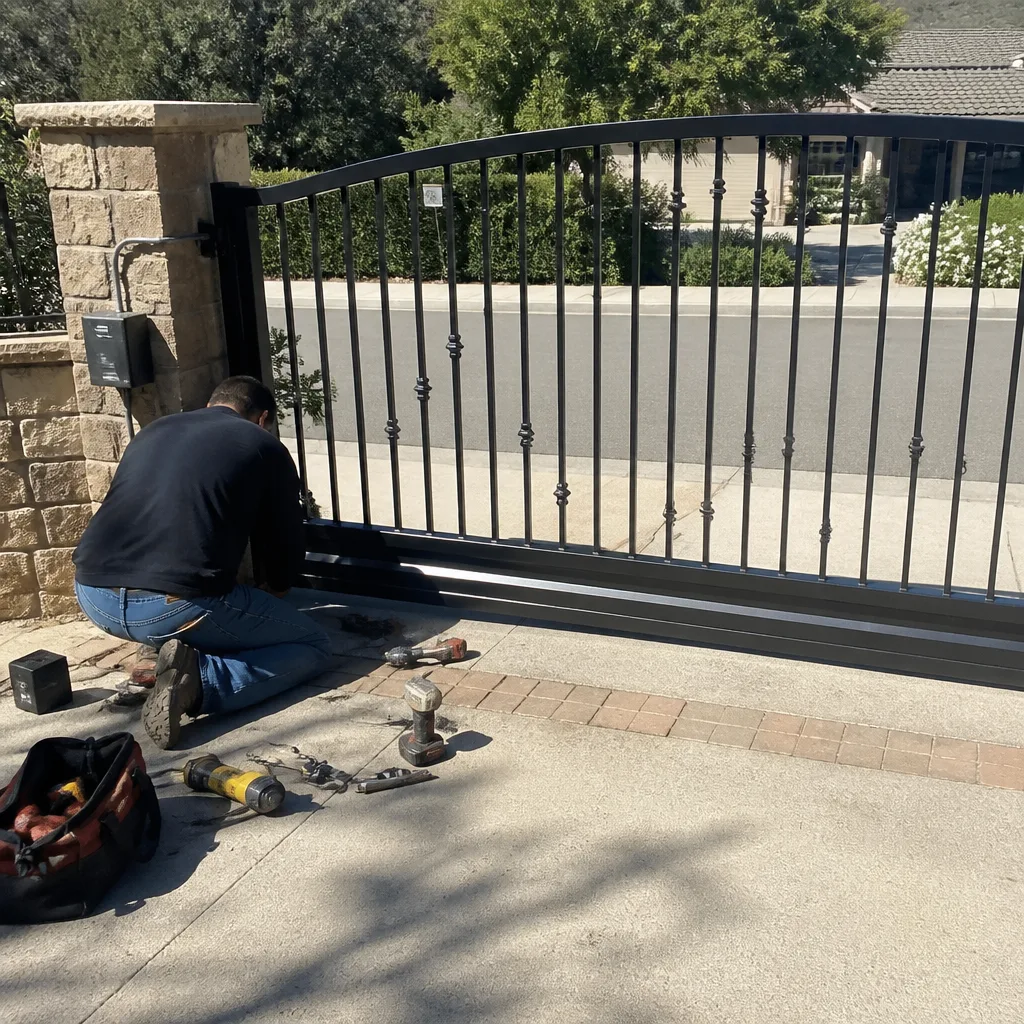 After
After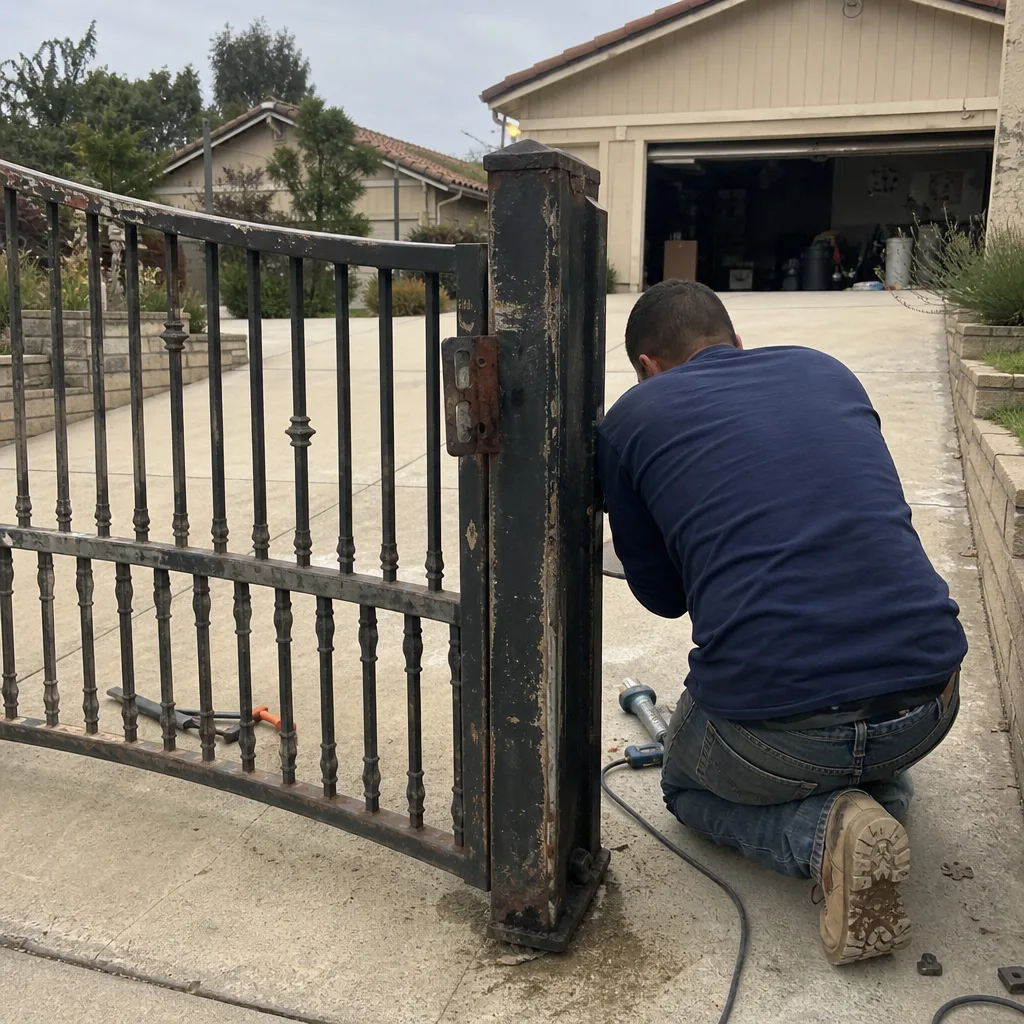 Before
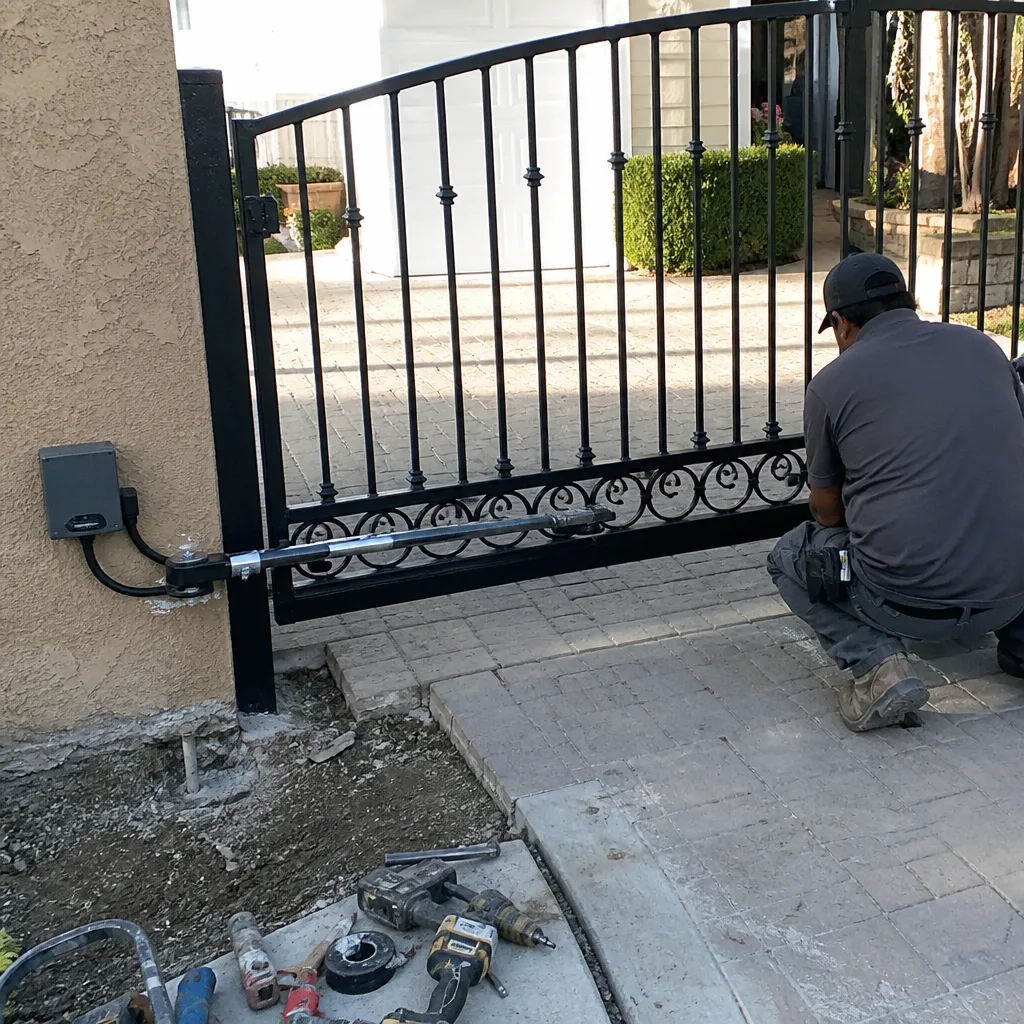 After
After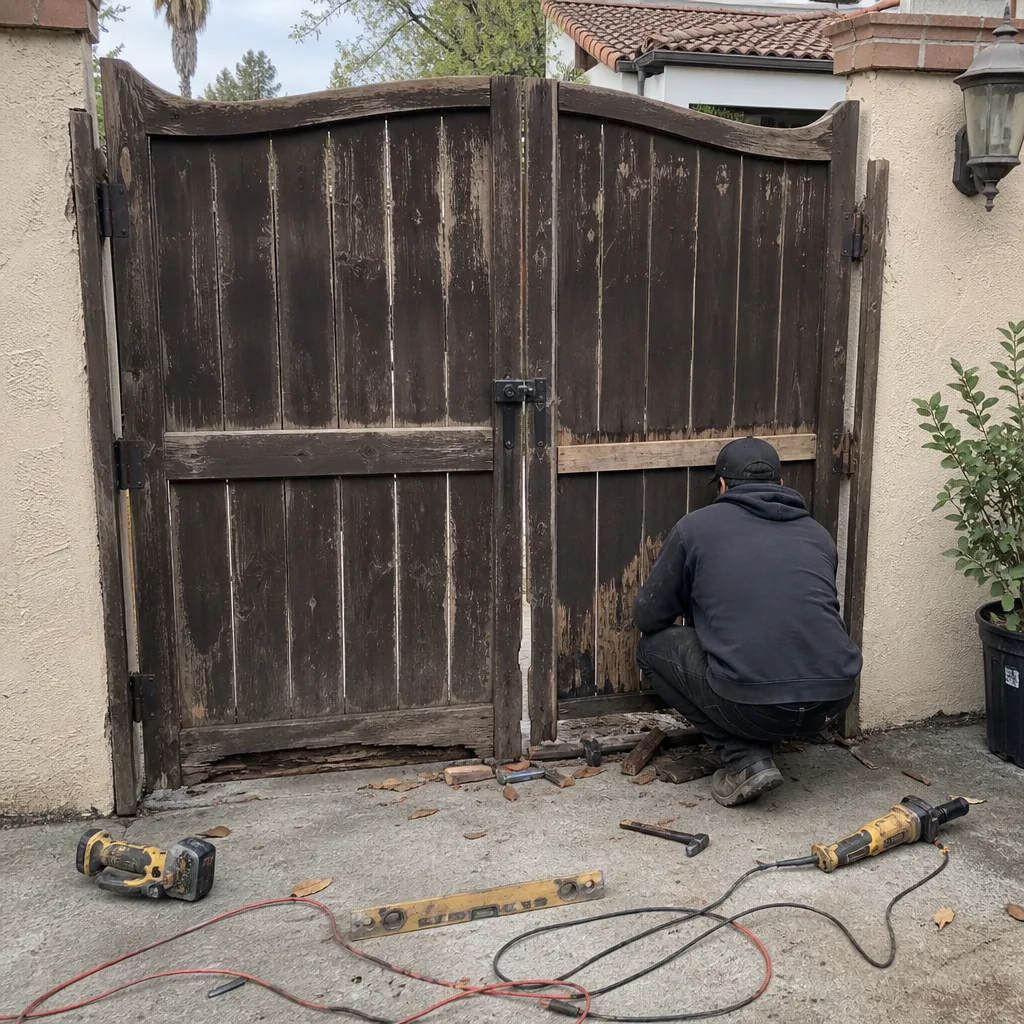 Before
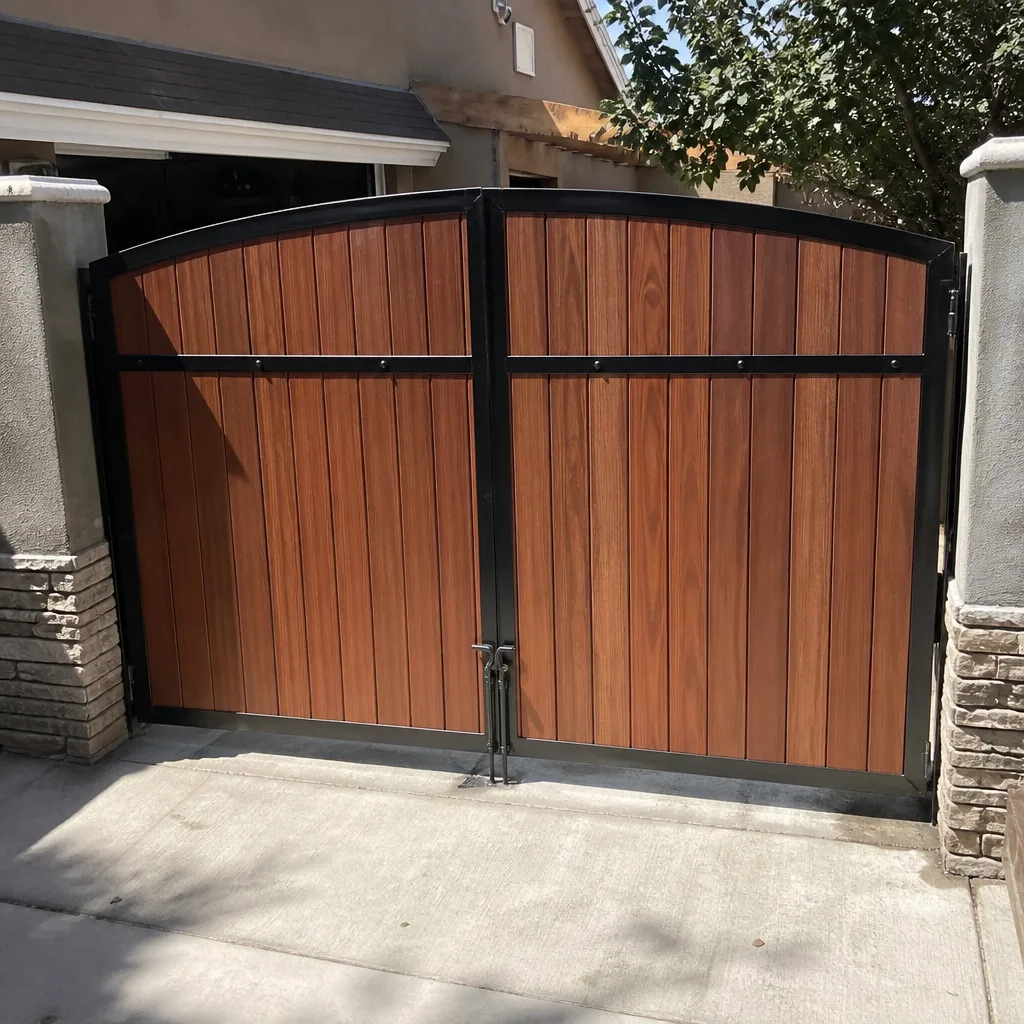 After
AfterThe Complete Guide to Gate Repair in Camarillo
A Camarillo homeowner who calls for a second gate repair within 18 months almost always paid to fix a symptom the first time. The component that actually failed is still in the gate. This guide walks through every gate system component in diagnostic order: the way a technician with a clipboard actually works, not alphabetically, not by price. You will learn how Camarillo’s specific climate creates predictable failure sequences, what to look for before anyone arrives with tools, what documentation a repair visit should leave behind, and when a gate problem is actually two trades’ worth of work.
Quick Answer
Gate repair in Camarillo typically costs $180 to $680 for most component-level fixes, with motor replacements running $750 to $1,400 depending on the brand and whether the arm bracket is intact. For a detailed breakdown, see our Gate Repair Cost Breakdown: The Camarillo Homeowner’s Reference for 2026. The majority of recurring failures trace back to one undocumented root cause that gets patched instead of fixed: usually a limit switch set past travel, a hinge set wearing asymmetrically from wind exposure, or a circuit board corroding in marine-layer humidity. Before you authorize any repair, ask for the written price and a photo record of what was actually found.
Table of Contents
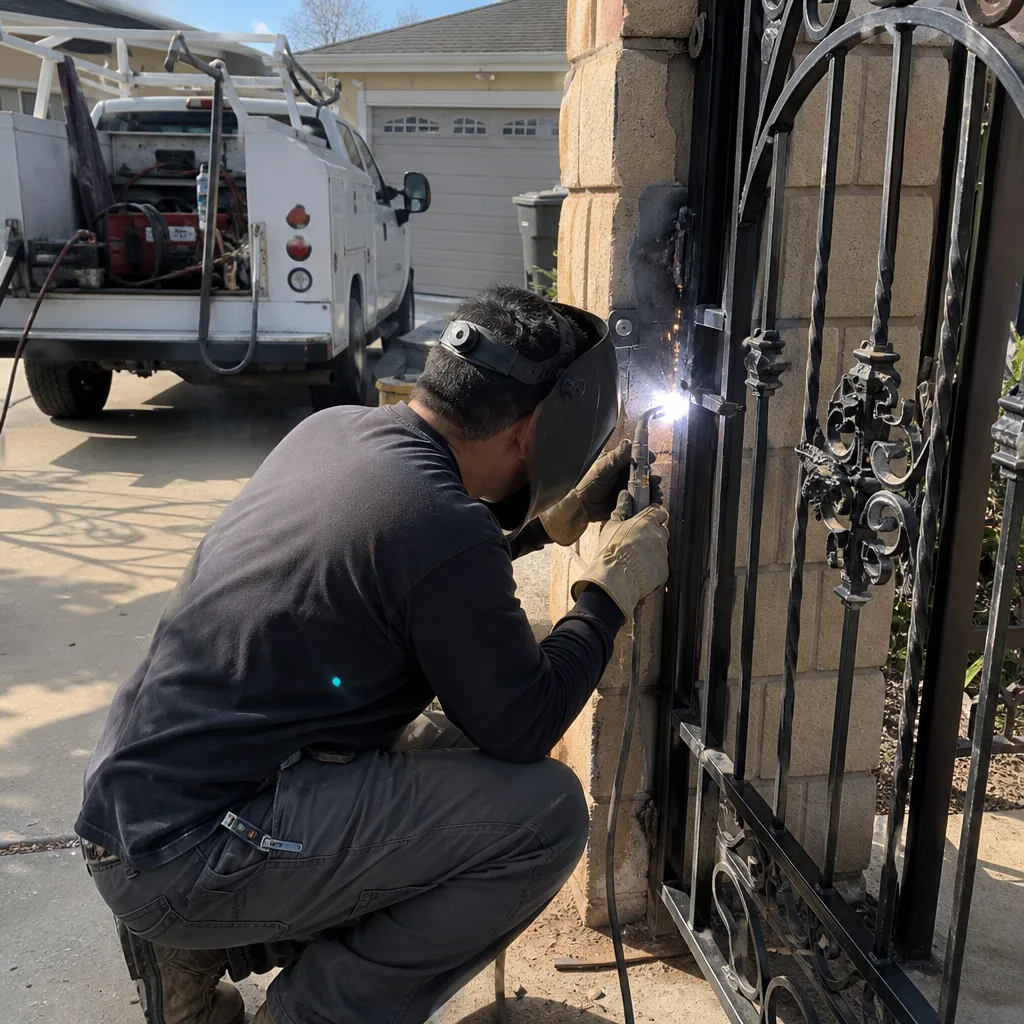
- Reading Your Gate From the Road: Pre-Diagnostic Clues
- Why Camarillo’s Climate Creates a Different Failure Sequence
- Diagnostic Order: The Way a Technician Actually Works
- Component Lifespan Table for Camarillo Conditions
- The Documentation Minimum Every Visit Should Leave Behind
- When It’s One Trade vs. Two Trades
- What Actually Drives Gate Repair Cost in Camarillo
- Common Mistakes to Avoid
BeforeAfterReading Your Gate From the Road: Pre-Diagnostic Clues
Before any technician arrives, you can identify roughly 40 percent of gate failures from the sidewalk. The gate tells you what is wrong if you know which details carry signal. What you are looking for, in order: sag angle, rust pattern, motor housing condensation, and cable tension.
Start with sag. Stand square to the gate and look at the top rail against the horizon or the fence line. A swing gate that has dropped even half an inch at the latch side means the hinge set is wearing asymmetrically. In Camarillo, the prevailing wind off the Oxnard Plain pushes consistently against the gate’s face, which loads the top hinge more than the bottom. The sag is the symptom. The hinge is the component. If a repair quote only addresses the latch, the sag will return because the latch is being asked to hold the gate level, which is not its job.
Next, rust pattern. Surface rust on the top rail near the hinge post tells a different story than rust at the base. Top-rail rust indicates water sitting in the seam where the horizontal rail meets the vertical stile, which in Camarillo’s morning marine layer can take months to fully dry. Base rust indicates soil contact or sprinkler overspray. If your irrigation is hitting the gate bottom twice a week, that is a landscaping issue, not a gate hardware issue, and the next repair will fail on the same schedule. We have seen hinge posts in Camarillo lose structural integrity on the soil-facing side while looking almost untouched from the street.
Motor housing condensation matters on swing-arm and slide-gate operators alike. In the mornings, Camarillo coastal-adjacent air reaches dew point on metal surfaces about 40 percent of the year. If you see moisture inside the motor housing or water beading on the circuit board cover, the board is operating in a bath. Cyclical condensation is a better predictor of board failure than age.
For a more complete walkthrough of what to check before calling anyone, see our Gate Repair in Camarillo overview.
Why Camarillo’s Climate Creates a Different Failure Sequence
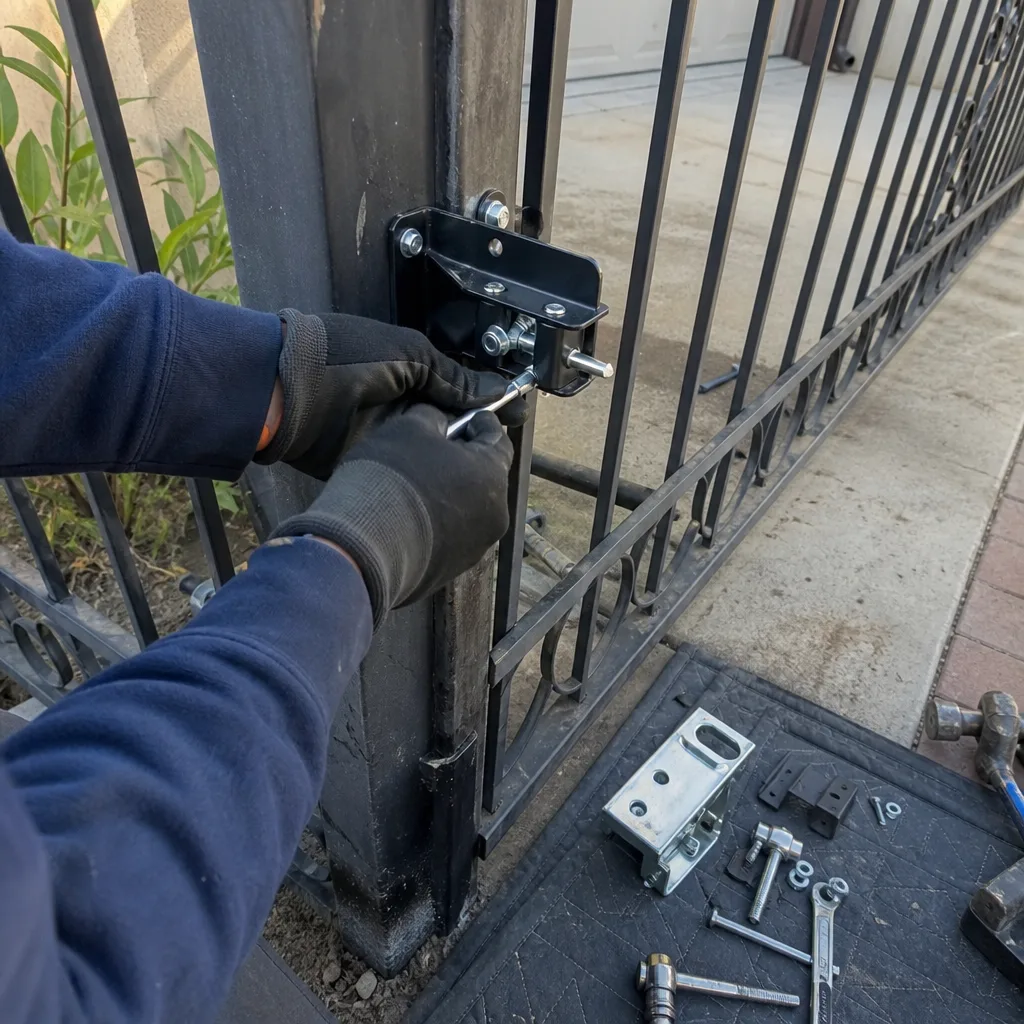
Most more guides & resources for gate repair are written for generic Southern California, which usually means inland, dry, and hot. Camarillo is not that. Camarillo sits at the edge of the coastal plain, about 12 miles from the ocean, close enough that the marine layer rolls in most mornings and burns off by afternoon. The humidity cycle is daily, not seasonal. Then, in the fall, the Santa Ana winds reverse the pattern: hot, dry, gusting air from the northeast, sometimes sustained at 30 to 40 miles per hour for days.
The result is a failure sequence that differs from inland Southern California in three specific ways:
- Condensation-driven board failure precedes mechanical failure. Inland, a motor burns out or a gear strips. In Camarillo, the circuit board corrodes first because the housing accumulates moisture overnight, every night, for months at a time. The mechanical parts are still fine when the board dies.
- Wind fatigue loads hinges and brackets asymmetrically. The Santa Anas hit the gate from a consistent direction. A swing gate that faces northeast is taking direct wind load across its face; the same gate design on an inland property might never see that stress. We have replaced hinge sets on Camarillo gates that looked perfectly aligned but had pin wear only on one side.
- Solar panel output degrades differently. Solar-powered gate openers in Camarillo see marine-layer morning conditions that delay charging, then intense afternoon sun. The panel itself lasts, but the charge controller sees more partial-charge cycling. Batteries fail earlier here than they do in Palm Springs, even with the same panel and motor.
Understanding this sequence matters because it changes which repair you authorize. If your gate stopped working after a humid week, the board is the likely candidate. If it stopped after a Santa Ana event, look at the hinges and the brackets before the electronics. A repair that does not account for these conditions fixes the symptom. It does not fix the component.
Diagnostic Order: The Way a Technician Actually Works
Technicians work in order of failure probability combined with ease of checking. You are not looking at the most expensive component first. You are looking at the most likely component first. Here is the diagnostic order we follow on a Camarillo gate that will not open or close:
Step 1: Power and Battery State
Before anything else, we check whether the system has power at all, and what kind. Solar systems read battery voltage; AC systems read output at the transformer. A surprisingly common failure in Camarillo is a tripped GFCI on the outlet serving the gate, especially after a Santa Ana wind event that topples a tree branch and causes a brief arc. We have also seen lawn crews unplug gate transformers to run blowers and not plug them back in. The gate did not fail. It lost power.
Step 2: Limit Switch Position
For motorized gates, the limit switch tells the motor where to stop. If the limit switch is set past the physical travel of the gate, the motor keeps trying to push after the gate has hit its stop. That burns a motor out in weeks, not years. The quote: “We found the limit switch set 12 degrees past travel; we reset it and photographed the new position.” That is the difference between a $200 fix and a $900 motor replacement.
Step 3: Photo-Eye Alignment
A photo-eye is the infrared beam that stops the gate if something crosses the path. A misaligned beam of roughly two inches is enough to prevent the gate from closing, or to cause it to reverse for no visible reason. In Camarillo, the ground shifts with winter rains; a gate post that settles a quarter-inch can move the beam out of alignment. This is a two-minute check and a five-minute fix, and it is frequently the whole problem.
Step 4: Hinge and Bracket Condition
Only after electronics are cleared do we look at mechanical wear. Hinge pins are wear items. Brackets crack. The arm bracket on a swing-gate motor is under constant load when the gate is closed. If the bracket is cracked, the motor has to work against slop that gets worse every cycle. Replacing the bracket is cheap. Waiting until the arm rips out of the post is not.
Step 5: Control Board and Wiring
Last, because it is the most expensive and should be the least likely, the board itself. Before replacing a board, we look at the terminals for corrosion. A corroded terminal can be cleaned or replaced for a fraction of what a new board costs. If the board is dead, we replace it and document the model and revision.
For a deeper look at motor-specific diagnostics, see our guide on Gate Motor & Opener in Camarillo.
Component Lifespan Table for Camarillo Conditions
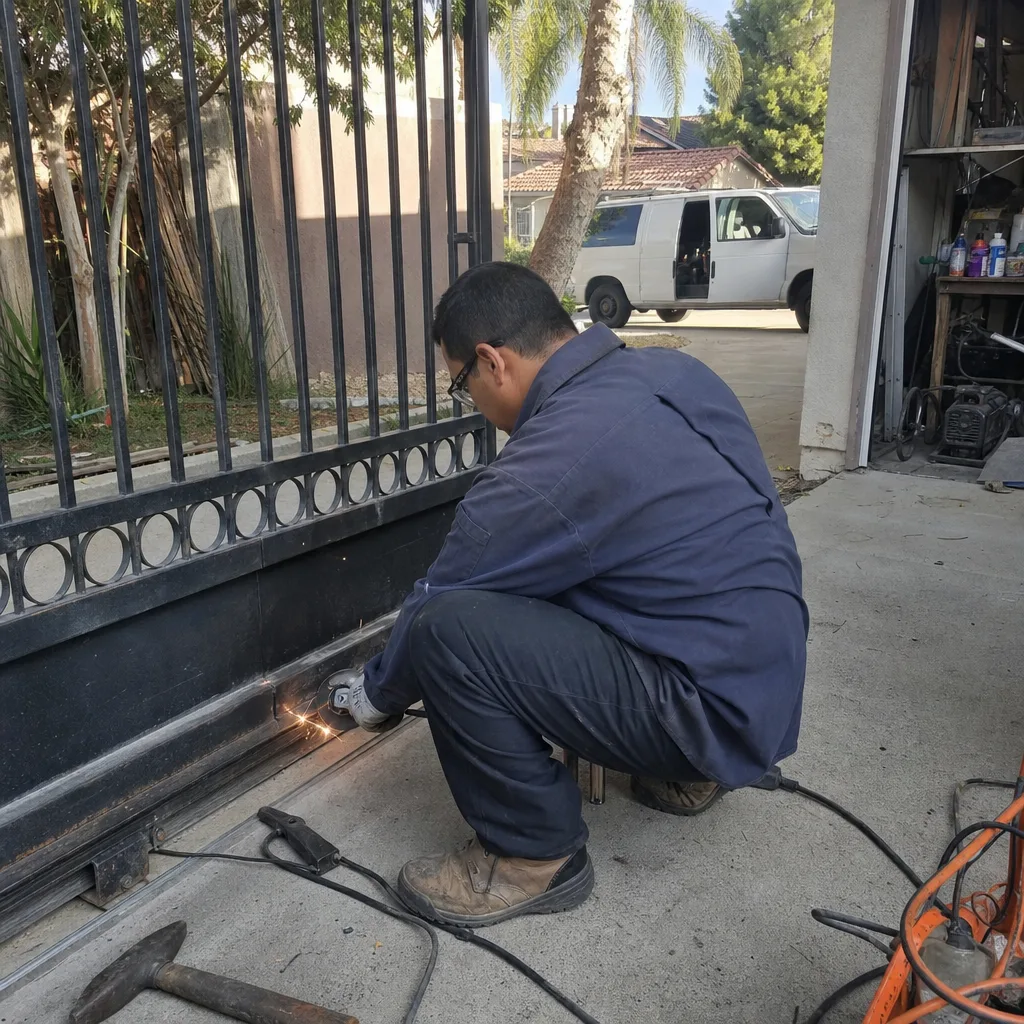
These are realistic replacement intervals for gate components in Camarillo’s specific climate. Every interval assumes the gate is properly installed and maintained. A gate that is never lubricated will fail sooner, in every row.
| Component | Expected Lifespan in Camarillo | Failure Driver |
|---|---|---|
| Hinge sets (steel, residential) | 6-10 years | Asymmetric wind load from Santa Anas |
| Hinge sets (aluminum, ornamental) | 10-15 years | Pin wear at the top hinge |
| Actuator control board | 5-8 years | Condensation cycling in marine layer |
| Loop detector (vehicle sensing) | 7-12 years | Ground settle and moisture intrusion |
| Battery (solar system) | 3-5 years | Partial charging from morning cloud cover |
| Solar panel | 15-20 years | Degradation rate; rarely fails suddenly |
| Motor (swing arm, residential) | 8-12 years | Limit switch drift, bracket slop |
| Motor (slide, residential) | 10-15 years | Gear wear, weather exposure |
| Remote transmitters | 3-5 years | Button wear, battery terminal corrosion |
| Track and rollers (slide gate) | 5-8 years | Debris, moisture, lack of lubrication |
These numbers assume a gate that gets a basic inspection once every two years. That inspection is the cheapest gate repair you will ever buy, because it identifies the limit switch that is drifting before it kills the motor, and the hinge pin that is wearing before it snaps. In our experience, a two-year inspection prevents roughly 60 percent of the component failures in the table above.
The Documentation Minimum Every Visit Should Leave Behind
Here is the part most gate repair guides skip entirely. You should know what a repair visit is supposed to leave behind. The documentation is not a courtesy. It is a diagnostic instrument for the next repair, and it is a resale document for your property.
A verbal summary is not documentation. If a technician says “We adjusted the limit switch and it is all good now,” you have no record of what the limit switch was set to before, what it was set to, and when. When the gate fails again in 14 months, a different technician starts from zero. The homeowner pays twice to rediscover the same problem.
The documentation minimum for any gate repair should include:
- Written scope of work: what was found, what was done, what part number was installed.
- Photo record: photos of the component before repair, after repair, and the setting values where applicable.
- Limit switch readings: the before and after positions, in degrees or counts, not just “adjusted.”
- Torque readings: for motorized gates, the torque reading before and after any motor work.
- Wiring notes: which terminals were tested, what voltage was measured, and any corrosion found.
Under Haven Standard Clause 4 (Evidence on every job), every visit we complete includes a documented photo record at no additional charge. Our technicians photograph what was found, what was set, and what was installed, then leave that record with the homeowner and file it in the job record. If a future repair is needed, the next technician can see exactly what the gate looked like when it left our hands. No guesswork. No double billing for rediscovery.
This documentation habit is why Vance Gate Repair Camarillo home runs every residential job with the same commercial-grade standards Adrian Vance developed on access-control sites starting in 2014.
When It’s One Trade vs. Two Trades
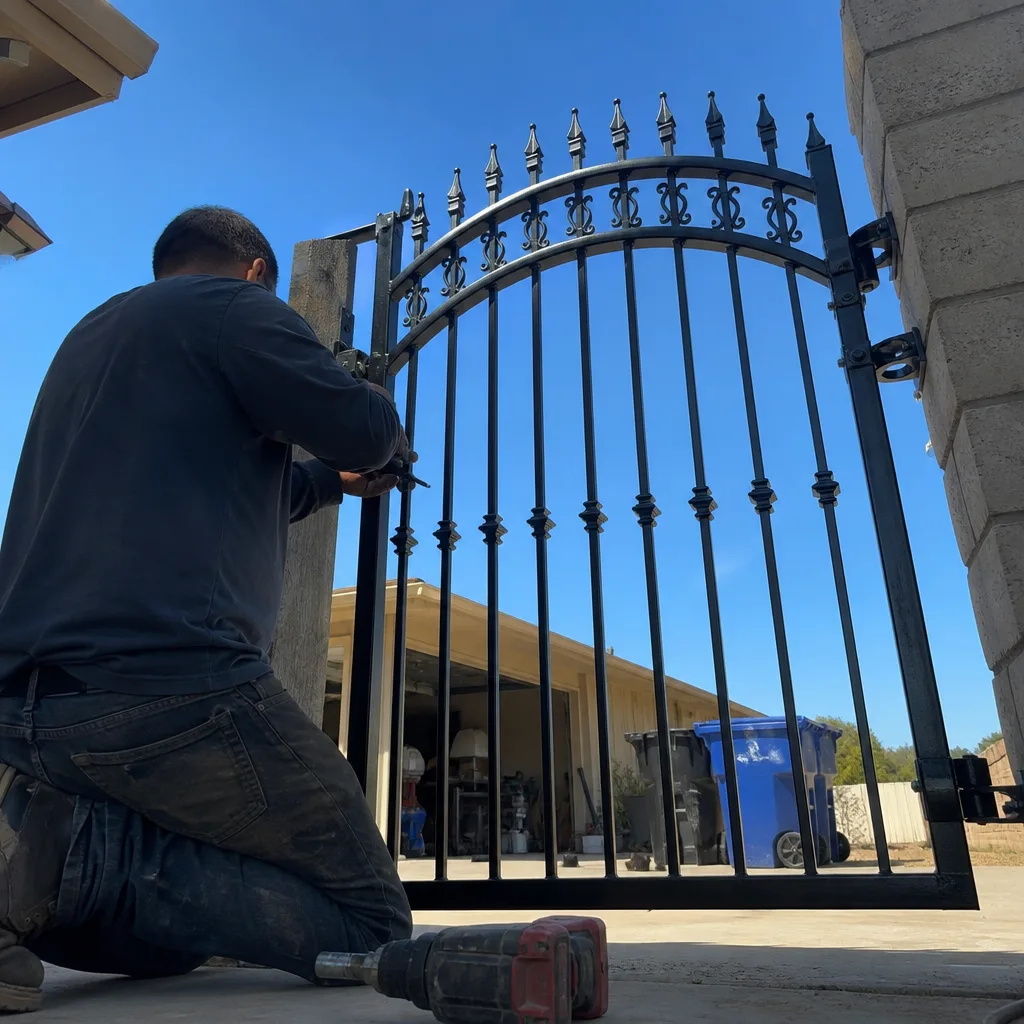
Not every gate problem can be solved by a gate technician alone. Knowing when to call an electrician or coordinate with your HOA before work begins will save you time and a second dispatch fee. Here is how to tell the difference:
One Trade: Gate Only
- The gate is moving but not fully opening or closing.
- The motor runs but the gate reverses or stops mid-travel.
- The gate is sagging, scraping, or the latch is difficult to engage.
- The remote has stopped working but the keypad still works.
- The photo-eye is misaligned or the gate reverses for no obvious reason.
- The hinge set is worn or a bracket is cracked.
Two Trades: Gate Plus One
- The gate has no power at the outlet and the breaker is fine. Call an electrician first, or hire a gate company willing to coordinate with one.
- The gate post is shifting or the concrete base is cracked. This is a concrete or fence contractor job before the gate hardware can be repaired.
- Your HOA requires an approved contractor list or an architectural review before any gate work. In Camarillo, several gated communities around Mission Oaks and Spanish Hills have board-approved vendor lists. Contract first, repair second.
- The gate is embedded in a fence that is failing. If the fence is leaning, the gate will lean with it. Repairing the gate without the fence means paying twice.
When the job requires a second trade, the company you hire should say so in writing before any work starts. The written scope should state what is gate work and what is electrical or structural work, with the boundary between them clearly drawn. If a company will not put that boundary in writing, you are going to inherit the blur.
What Actually Drives Gate Repair Cost in Camarillo
Gate repair pricing in Camarillo follows the component, not the symptom. Most swing-gate motor replacements run between $750 and $1,400, depending on the brand and whether the arm bracket is intact. A LiftMaster or Mighty Mule motor costs less than a FAAC or BFT unit, but the labor is comparable. If the arm bracket is cracked, add the bracket and the labor to drill and remount it on the gate post: that is another $150 to $350.
Here is what moves the price:
- The brand already on the gate. We service nine automation brands, including LiftMaster, FAAC, BFT, and Mighty Mule, so we seldom need to swap brands. But if the board failed on a FAAC and you want to keep the FAAC motor, the board is priced by the manufacturer. That is not something we control.
- Access to the carrier arm and hinges. A gate on a sloped driveway in the hills above Camarillo takes longer to work on than a flat concrete pad in a neighborhood off Las Posas Road. The clock is the clock.
- Whether the post is reusable. If the previous installer set the gate post in concrete that has cracked, the new hardware cannot be mounted to it. Post reset is a second trade or a larger job.
- The documentation. This should not be a cost driver, but it is. A technician who writes nothing down is cheaper in the moment and more expensive over the life of the gate.
The quote should be a written number, not a range that expands after the work starts. Here is our practice: under Haven Standard Clause 1 (Have it in writing), the flat price is written and handed over before any work starts. That written price is the price. If we find additional problems during the work, we stop, write the new scope and price, and get your approval before touching the second problem. No surprise invoice. No discovered issues after the fact that somehow double the bill.
For a complete look at what a new gate costs when repair is no longer the right call, see the Gate Installation in Camarillo guide.
Common Mistakes to Avoid
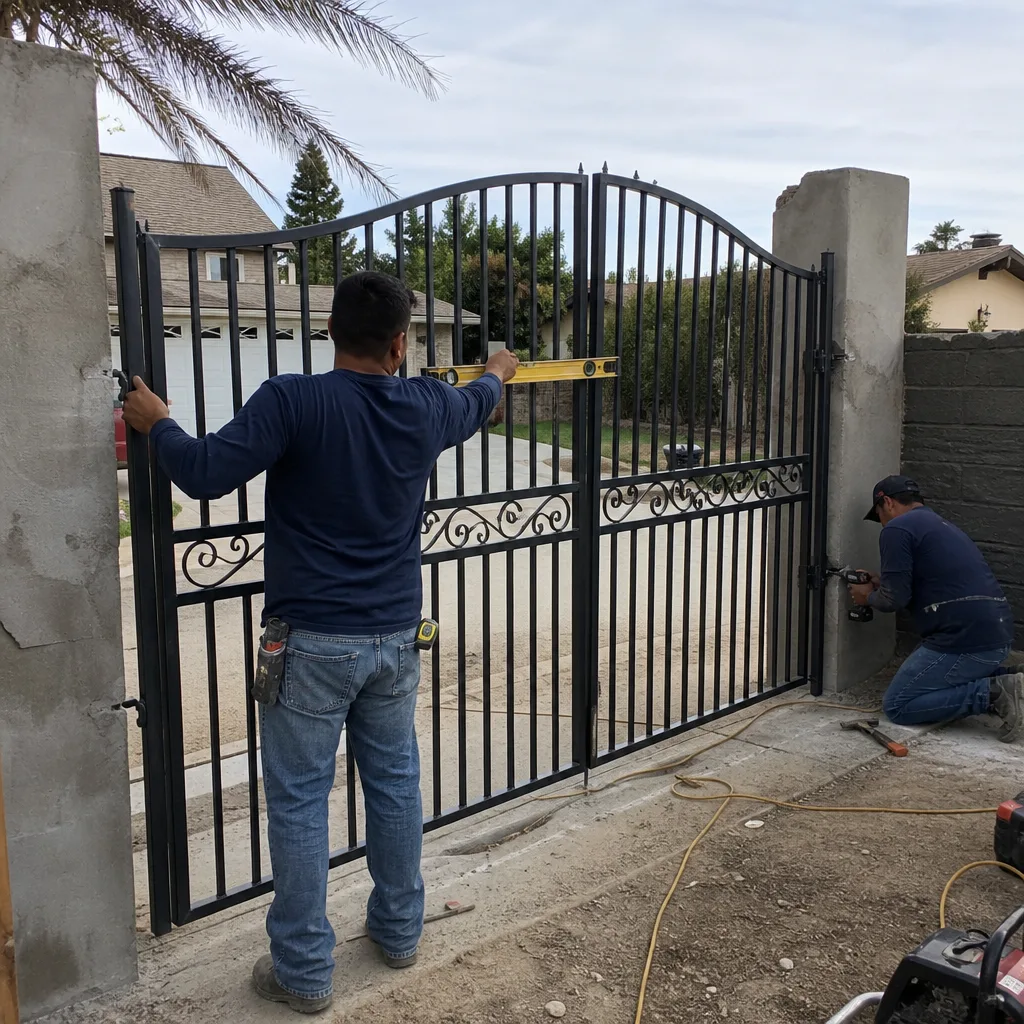
- Paying to fix the symptom instead of the component. If a technician replaces your gate latch because the gate is sagging, the latch will fail again. The sag is the symptom. The hinge is the component. Fix the hinge.
- Authorizing a motor replacement without checking the limit switch. A motor that burns out repeatedly may be fighting a limit switch set past travel. Replacing the motor without resetting the switch is buying a new engine while leaving the parking brake on.
- Accepting a verbal summary as documentation. A verbal estimate is a guess, and a verbal summary is forgettable. In Camarillo, where a gate may change hands with the property, the buyer inherits the repair history. If there is no written record, the buyer inherits a mystery.
- Ignoring the photo-eye. The beam is the most common false alarm in gate repair. Before you call a technician, check whether the photo-eye lenses are clean and the beam is level. Two inches of misalignment can look like a dead motor.
- Treating the gate and the fence as separate problems. In Camarillo’s wind conditions, a leaning fence will take the gate with it. Repairing the gate while the fence continues to lean is paying for the same job twice.
- Choosing the cheapest quote without asking what is included. A quote that is $150 lower and leaves no photo record, no written scope, and no reading values is not cheaper. It is a down payment on the next repair.
- Waiting until the gate will not move to call. If the gate is grinding, slowing, reversing, or sagging, that is the early warning. The repair is smaller now than it will be in three months. Every Camarillo gate we have replaced that could have been repaired was a gate that started failing months before the owner acknowledged it.
When to Call a Professional
Call a professional when the gate has stopped moving or is moving in a way that is not safe for people or vehicles. That includes a gate that reverses unpredictably, a gate that grinds against the ground or the post, a motor that runs without moving the gate, or any wiring that shows signs of corrosion. If you are not the person who installed the gate, and you are not holding a written record of what was done to it, call someone who will leave one. Vance Gate Repair services in Camarillo offers free estimates: call (805) 516-0855 and a live person answers at any hour.
Frequently Asked Questions
Most component-level gate repairs in Camarillo run between $180 and $680. Motor replacements typically run $750 to $1,400, depending on the brand and whether the arm bracket can be reused. The written price is quoted and agreed before any work starts. Call (805) 516-0855 for an exact quote: estimates are free.
Yes. For gate repair emergencies, a live person answers the phone 24/7 at (805) 516-0855, and we dispatch same-day in Camarillo when the problem is urgent. Most component-level repairs are completed on the first visit. Call and tell us what the gate is doing: we will tell you when we can be there.
A full repair visit includes diagnosis in the order the components actually fail, a written scope and a written price before any work starts, the repair itself, and a documented photo record of what was found, what was set, and what was installed. That record is left with you and filed in the job record under Haven Standard Clause 4.
Yes. We handle the wiring on the gate side of the system, and when the job requires an electrical run from the panel to the gate, we coordinate with a licensed electrician so the boundary between trades is clear. Safety edges and photo-eyes are part of every motorized repair. The scope will state who does what and in what order.
We service nine major automation brands, including LiftMaster, FAAC, BFT, and Mighty Mule, and we repair what is on the gate before recommending replacement. The only time we recommend replacement is when the motor or board has failed in a way that makes repair more expensive than new, and we will show you the numbers in writing before you decide.
A well-installed residential gate with basic maintenance should last 15 to 20 years for the structure, with component replacements along the way. Motors last 8 to 12 years in Camarillo’s coastal climate, hinge sets 6 to 10 years, and solar batteries 3 to 5 years. The gate will outlast several components; the components are consumables.
The Bottom Line
Your Camarillo gate will fail in a predictable sequence if you know what to look for: condensation on the board first, limit-switch drift second, hinge wear third. The repair that fixes the component costs less than the repair that fixes the symptom every single time. Demand a written price before anyone works, and a photo record after they are done. Then call a company that already does both on every visit: call (805) 516-0855 for a free estimate from Vance Gate Repair Camarillo.
Written by Adrian Vance, Owner at Vance Gate Repair Camarillo, serving Camarillo since 2014.