
Last updated September 20, 2026
Free on-site gate assessment - hinges, posts, and your LiftMaster or Nice gate operator checked before anything is quoted
The assessment is free and the quote is the invoice.

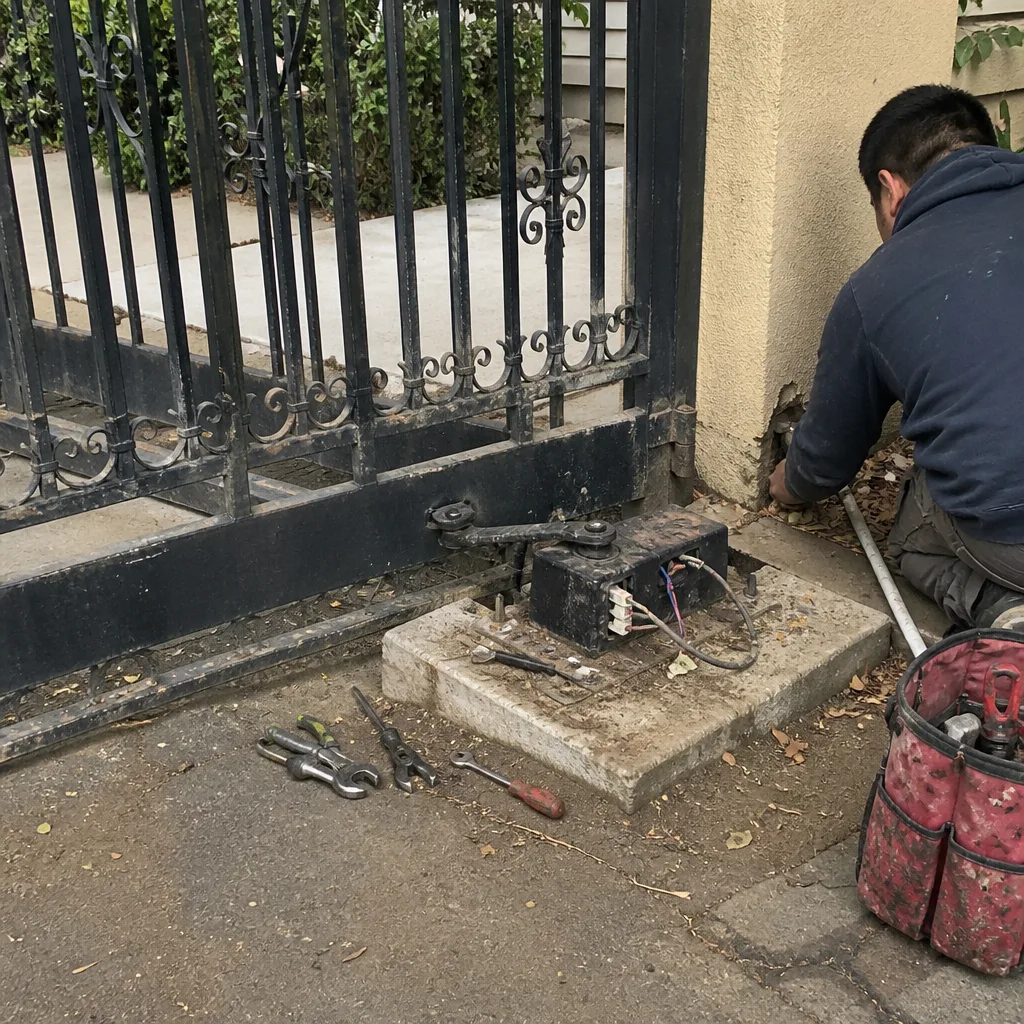 Before
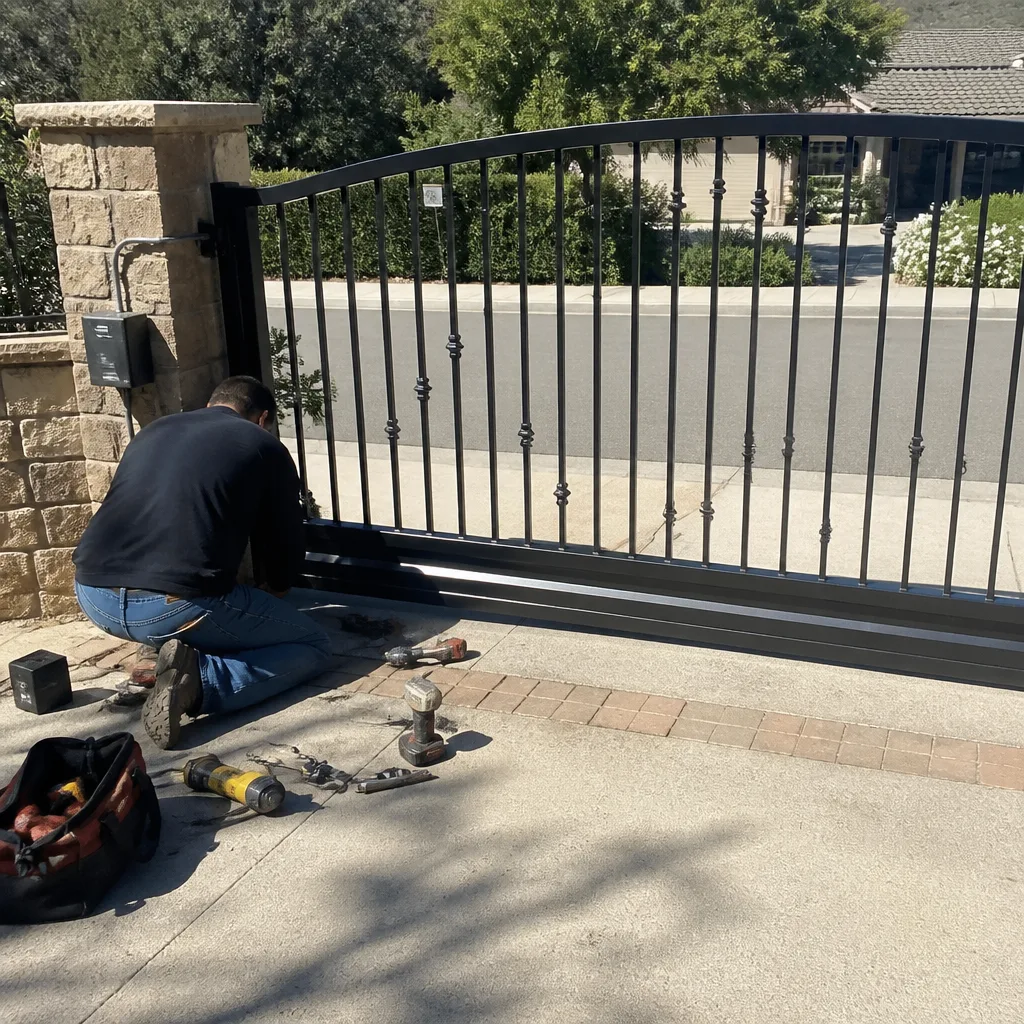 After
After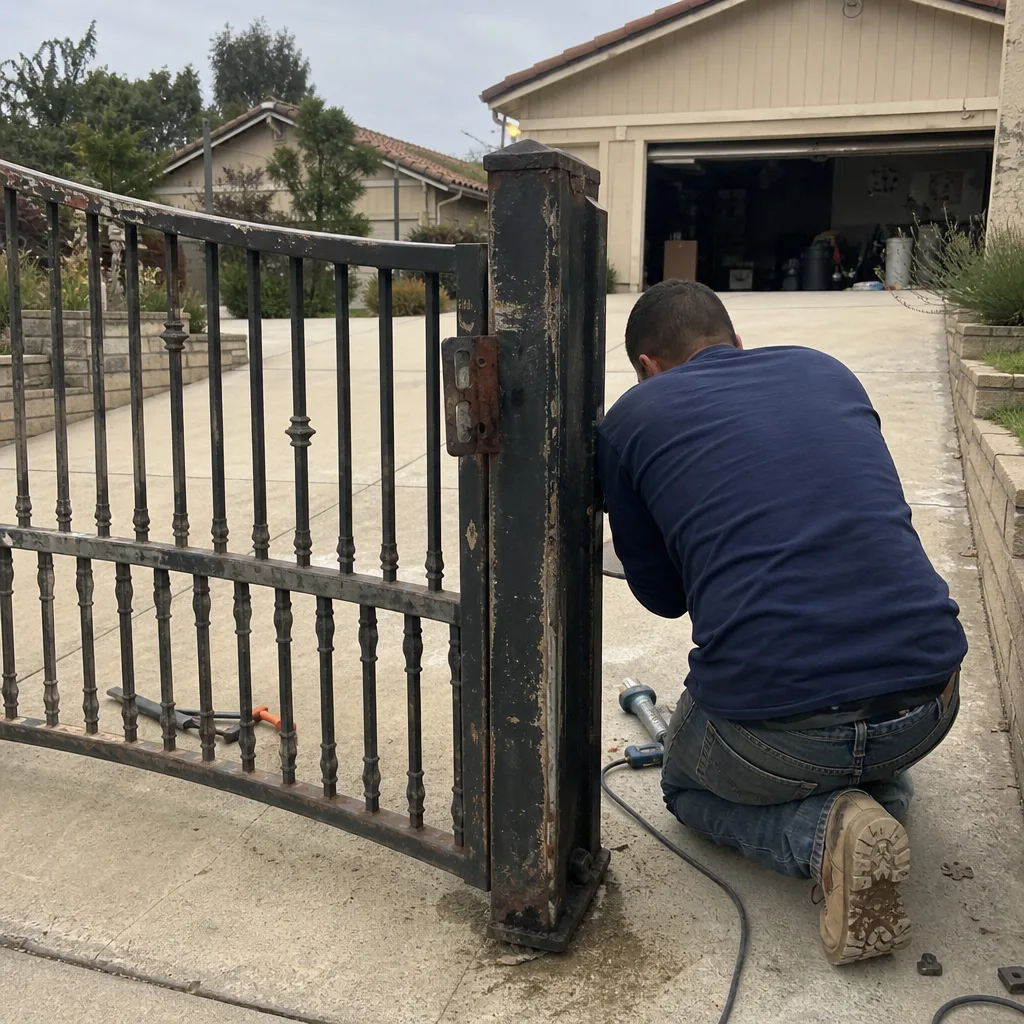 Before
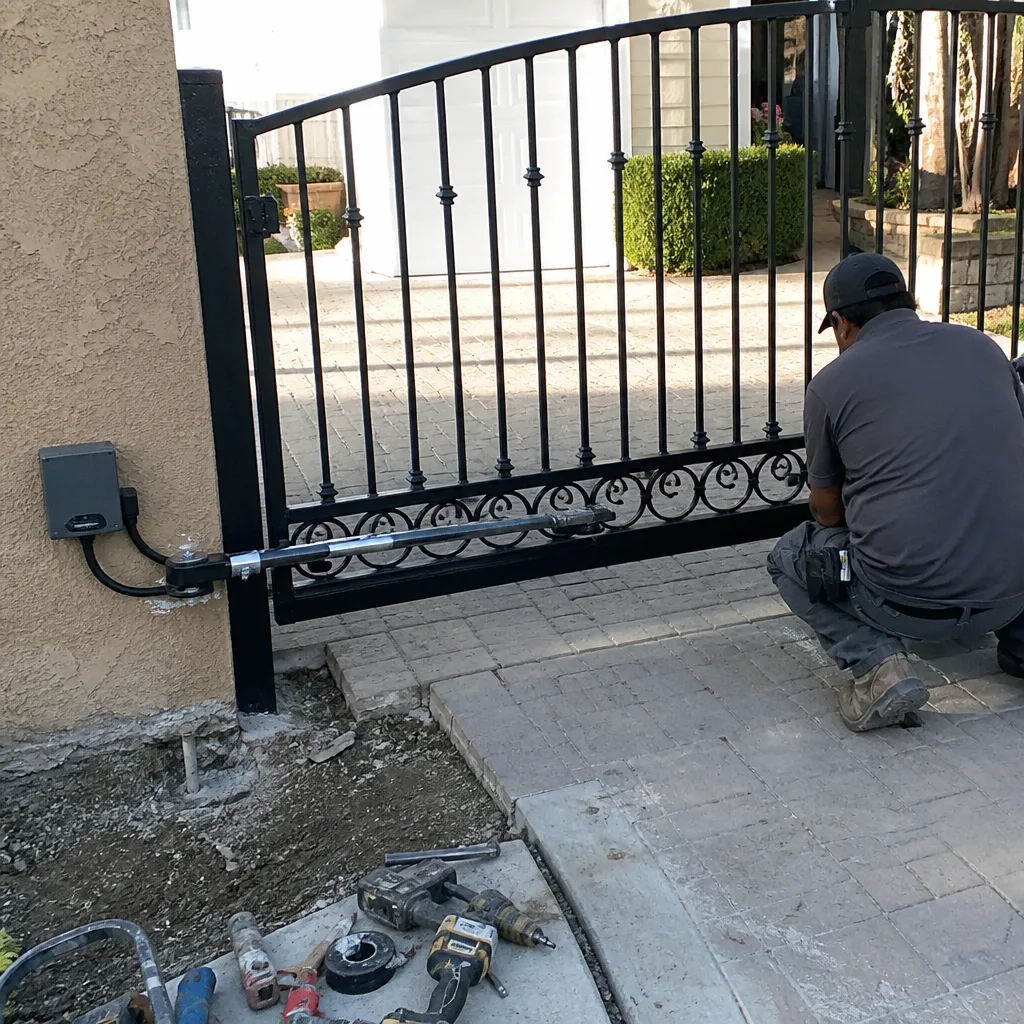 After
After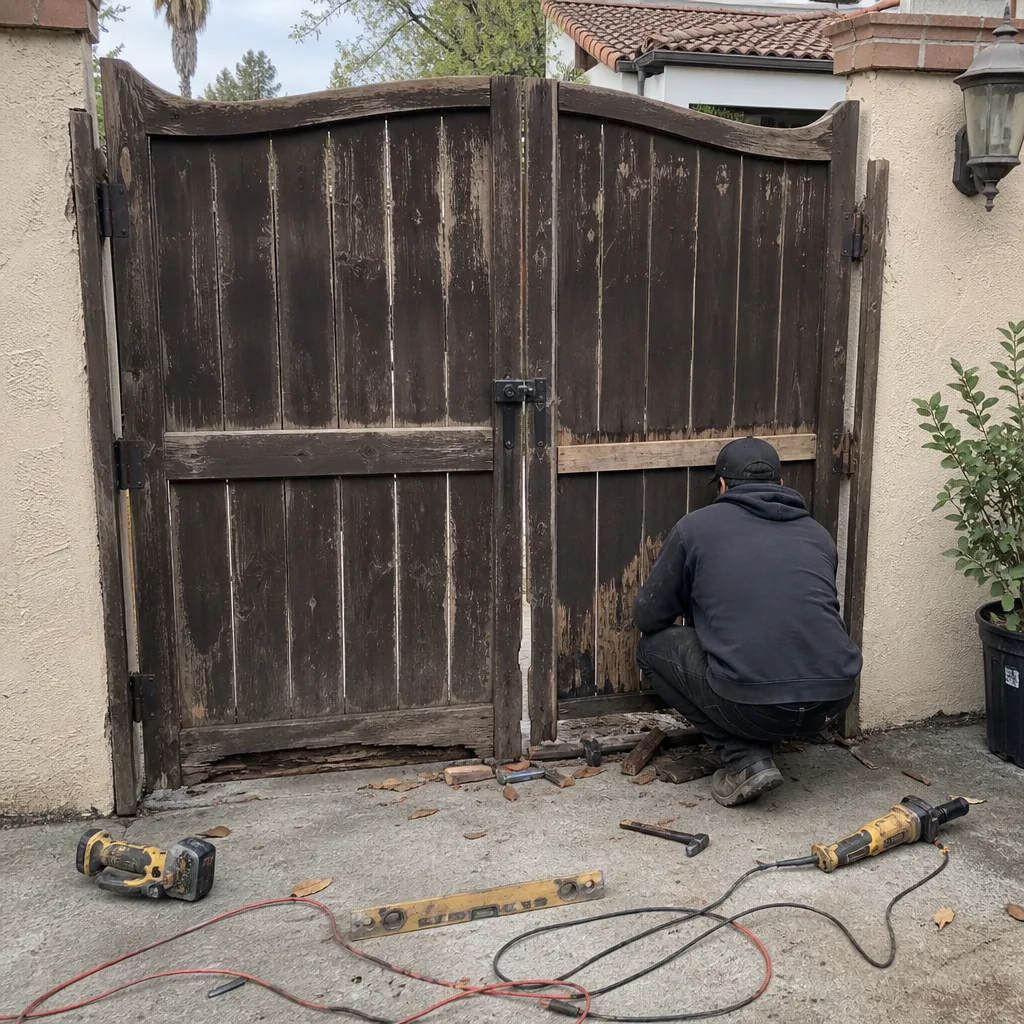 Before
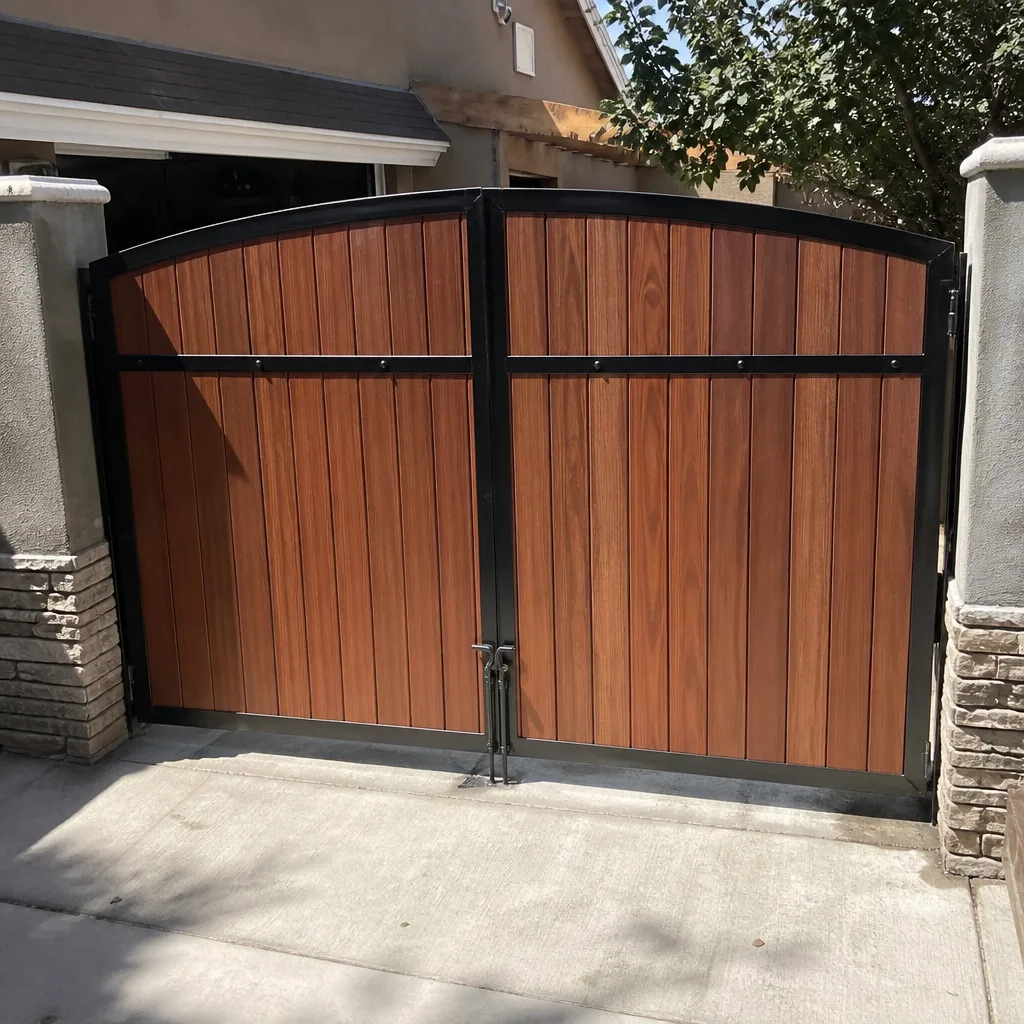 After
AfterDIY vs Professional Gate Repair: The Camarillo Homeowner’s Decision Guide
Here’s a fact most gate repair guides won’t tell you: the dividing line between a safe DIY job and an expensive mistake isn’t how handy you are. It’s where in the gate system the failure lives. A Camarillo homeowner who replaces a worn hinge has done exactly what a technician would do: unbolt the old part, position the new part, torque the fasteners. But that same careful person adjusting limit switches without a wiring diagram can reset them into a configuration that defeats the UL 325 reversing requirement, turning a gate into a 700-pound hazard that will not stop when a child or pet crosses the path. This Gate Repair guide draws that line at the component level, so you know before you pick up a wrench whether you’re making a repair or making a liability.
Quick Answer
DIY gate repair makes sense for mechanical tasks: hinge replacement, roller swaps, chain tension adjustment, and lubrication. It does not make sense for electrical tasks: control board diagnostics, limit switch calibration, sensor alignment tied to entrapment protection, or any wiring change. In Camarillo, a homeowner can safely handle roughly 40% of common gate failures using basic tools, as detailed in our Gate Repair Maintenance Checklist for Camarillo Homeowners. The other 60% involve components where a mistake can damage a $400 to $800 control board or create a safety hazard that violates California’s entrapment protection requirements.
Table of Contents
- The Component Line: Where DIY Ends and Technician Territory Begins
- UL 325 and the Hidden Risk of DIY Electrical Adjustments
- Mechanical Repairs a Camarillo Homeowner Can Do Right
- Tools and Measurements That Prevent the Most Common Amateur Mistakes
- The Real Cost of a DIY Attempt That Escalates
- How to Create a Handoff Document for Your Own Maintenance
- What Your Gate Motor Brand Means for the Decision
- Camarillo-Specific Conditions That Affect Gate Wear
BeforeAfterThe Component Line: Where DIY Ends and Technician Territory Begins
Every automatic driveway gate has two systems bolted to the same frame: a mechanical system that moves the gate leaf and an electrical system that tells the motor when to start, when to stop, and when to reverse. The failure you’re looking at is almost always in one system or the other, and the repair difficulty tracks that split almost perfectly.
Mechanical components fail gradually. You’ll notice sag, scraping, a change in the sound. These failures announce themselves over weeks or months. Electrical components fail suddenly or intermittently: the gate stops mid-cycle, the opener clicks without engaging, the remote works sometimes and not others. That difference alone is a useful diagnostic clue, but the bigger point is about risk. When a hinge fails, the worst outcome is a gate that sags and eventually drags. When a limit switch is misadjusted, the worst outcome is a gate that crushes something in its path because the reversing circuit never activates.
Here is the decision table we use when a Camarillo homeowner asks us whether to attempt a repair themselves:
| Component | System | DIY or Professional | Reason |
|---|---|---|---|
| Hinges | Mechanical | DIY | Bolt-on replacement, no calibration required |
| Rollers / wheels | Mechanical | DIY | Direct swap, standard parts |
| Chain tension | Mechanical | DIY | Adjustment nut is accessible, minimal risk |
| Lubrication | Mechanical | DIY | No disassembly, no risk of miscalibration |
| Photo-eye sensors | Electrical | Professional | Alignment is tied to UL 325 entrapment protection; a misaligned beam can create a false “clear” signal |
| Limit switches | Electrical | Professional | Incorrect settings defeat the reversing requirement |
| Control board | Electrical | Professional | A wiring error can destroy a $600 board before you see smoke |
| Capacitors / motor internals | Electrical | Professional | Stored charge, shock risk, motor-specific tolerances |
| Batteries (backup) | Electrical | DIY (with caution) | Simple swap on most brands, but polarity matters |
| Remote programming | Electrical | DIY (often) | Most brands publish programming steps; exact sequence matters |
The line is not about confidence or experience. It’s about what happens when the repair is wrong. This is the distinction that matters, and the one we’re going to return to throughout this guide.
UL 325 and the Hidden Risk of DIY Electrical Adjustments
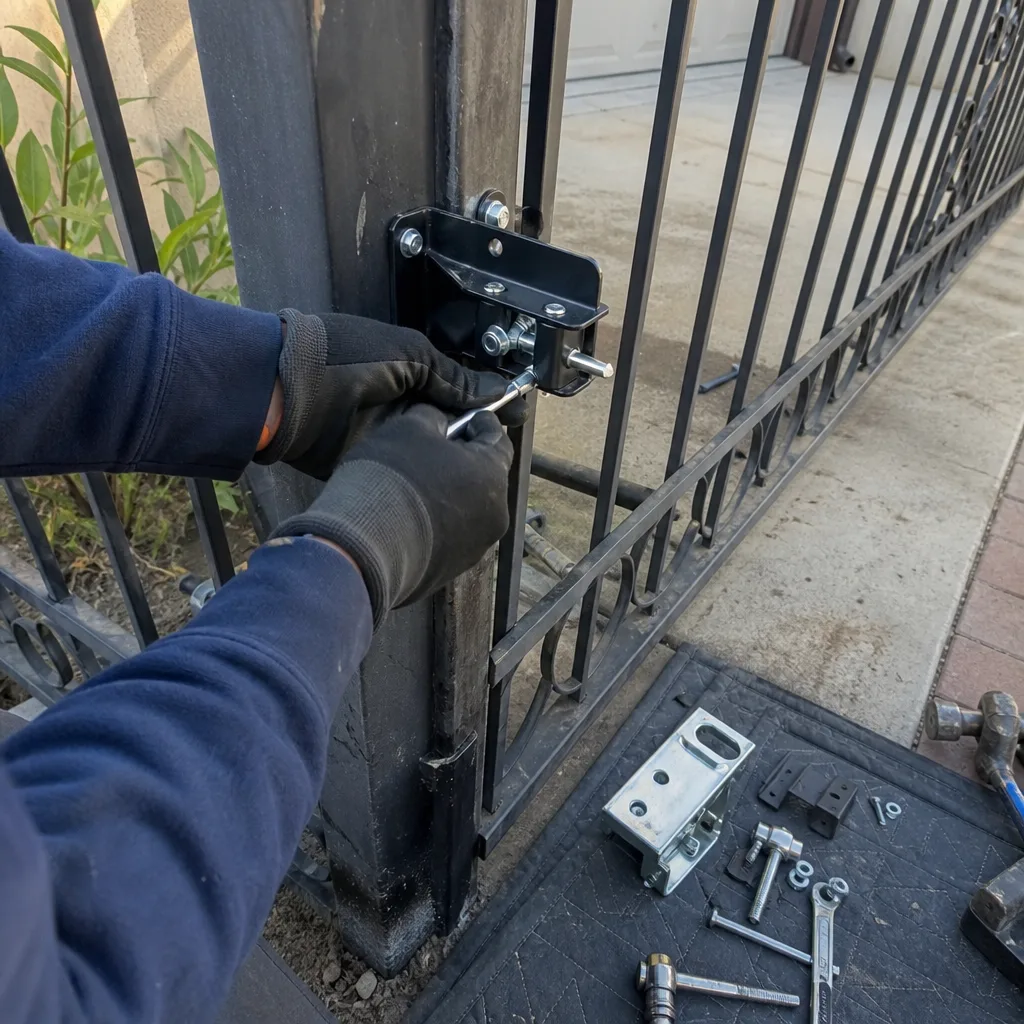
Every automatic gate installed in the United States after 2001 is governed by UL 325, the Underwriters Laboratories standard for gate and door operators. The standard requires two independent entrapment protection mechanisms: a primary device (usually the motor’s internal current sensing) and a secondary device (usually photo-eye sensors or a contact edge). When both are working correctly, the gate reverses if it encounters resistance and stops if something breaks the sensor beam. When a homeowner adjusts components without understanding how the two systems interact, the result is not a gate that simply does not work. The result is a gate that works but will not protect anyone.
Here is the scenario we see most often in Camarillo, and it usually involves a FAAC or BFT operator on a hillside property in the Las Posas area:
- The gate stops a few inches short of its fully open position. The homeowner opens the motor housing and sees two small adjustment screws labeled “open limit” and “close limit.”
- The homeowner turns the open limit screw until the gate travels the full distance. The gate now opens completely. The homeowner considers the repair successful.
- What the homeowner does not know: on many operators, the internal current sensing that triggers reversal is calibrated relative to the travel limits. By extending the open travel beyond the manufacturer’s specified range, the motor now reads the physical end-of-travel stop as an obstruction. The reverse circuit can trigger mid-travel, or worse, the sensing threshold can shift so that a real obstruction no longer triggers reversal.
- The gate now either reverses unexpectedly in the middle of the cycle or fails to reverse when it meets resistance. The homeowner has converted a minor calibration issue into an entrapment hazard.
This matters in California for reasons beyond safety. California follows the entrapment protection provisions of UL 325 through both the state’s building codes and common-law premises liability. If a gate injures someone and a subsequent inspection reveals that the limit switches or sensors were adjusted by the property owner, the homeowner’s liability position changes substantially. Insurance adjusters do not distinguish between a well-meaning DIY job and deliberate tampering. They distinguish between a system that was in spec and a system that was not.
The reversing requirement is not a suggestion, and it’s not a feature you can disable for convenience. It is a legal and safety obligation. Any adjustment that involves the travel limits, the sensor beam, the force settings, or the wiring that connects them belongs with someone who has the manufacturer’s installation manual for that specific board and the equipment to verify the reversal threshold is still functioning after the adjustment.
Mechanical Repairs a Camarillo Homeowner Can Do Right
Mechanical repairs are different in kind, not just degree. A hinge, a roller, a chain: these components bolt on, they wear visibly, and a correct repair is one you can see and test physically. There is no calibration to get wrong because there is nothing to calibrate. Here is what a careful homeowner can handle, with notes we’ve learned from watching Camarillo properties near the Santa Monica Mountains deal with years of sun and occasional coastal air.
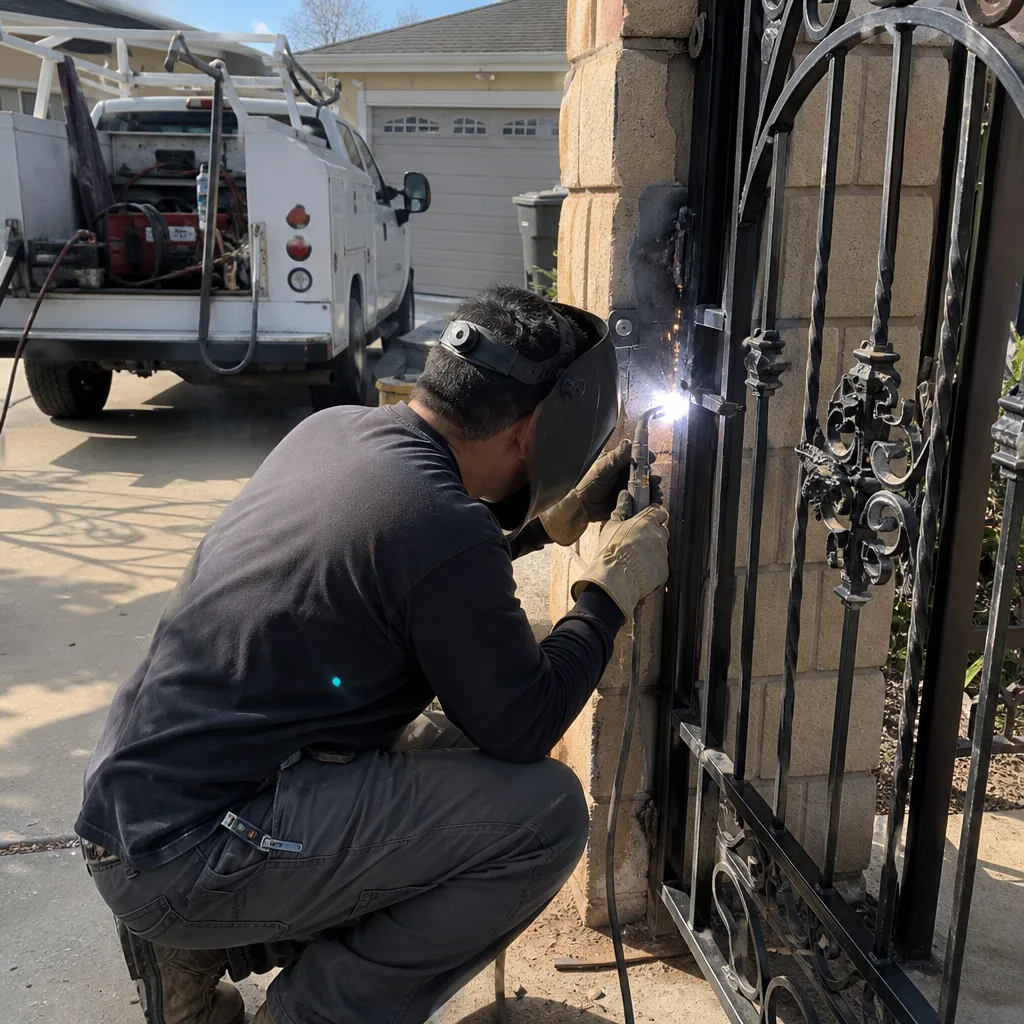
Hinge replacement. A swing gate typically hangs on two or three hinges. When a hinge wears, the gate sags on that side and begins scraping. Replacing a hinge is a straightforward unbolt-and-rebolt job. The gate needs to be supported while you work; a bottle jack with a block of wood under the free end works. Use galvanized or stainless hardware. Cheap zinc-plated bolts from a big-box store will corrode faster in the mix of Camarillo heat and marine layer moisture than most people expect.
Roller replacement. Sliding gates ride on steel rollers that grind away over time. The rollers are replaceable components on most gate frames. The key measurement is the roller diameter and the bracket spacing. If you bring the old roller to a hardware supplier, they can match it. The mistake people make is replacing only the obviously worn roller while ignoring the others. If one roller is shot, the others have been carrying extra load and are not far behind. Replace the set.
Chain tension adjustment. Chain-driven operators have a tension adjustment that tightens or loosens the drive chain. A chain that is too tight stresses the motor shaft and the sprocket bearings. Too loose and it can jump a tooth, which throws the travel limits out of alignment. The adjustment is usually a threaded tensioner bolt at one end of the rail. The correct tension on most gate chains is roughly 1/4 to 1/2 inch of deflection at the midpoint when pressed with moderate thumb pressure. Tighten gradually and cycle the gate after each adjustment.
Lubrication. This is the maintenance task with the highest return on investment for a Camarillo homeowner. A gate that gets lubricated twice a year will outlast an identical gate that runs dry. Use a dry silicone lubricant on rollers and the chain. Do not use WD-40 as a primary lubricant; it is a solvent that will strip existing lubrication. For hinges, a white lithium grease works. Wipe away excess so dirt does not accumulate.
Tools and Measurements That Prevent the Most Common Amateur Mistakes
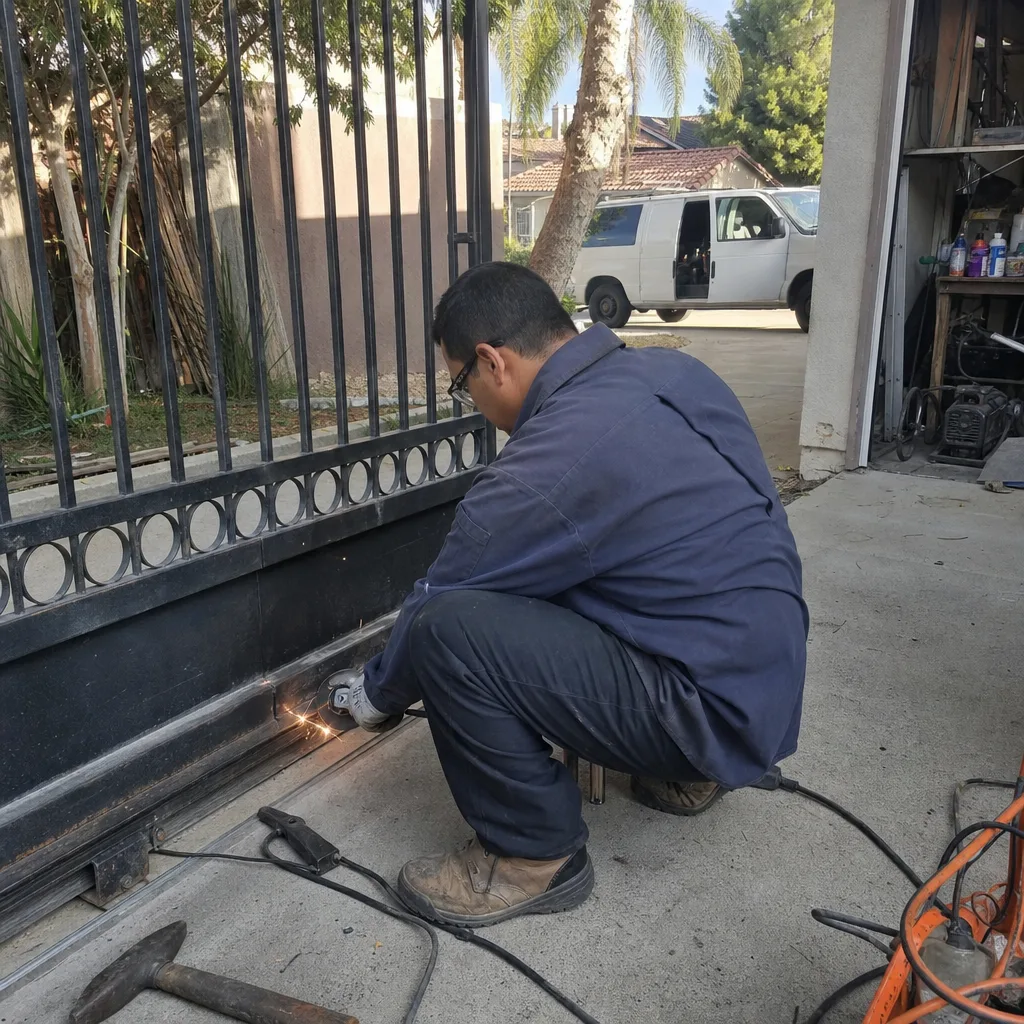
If you’re going to take on mechanical gate repair work, you need a specific set of tools and a habit of measuring before you disassemble. The most common amateur errors are not errors of strength or skill. They are errors of documentation: removing a part without recording how it was installed, then guessing during reassembly. Here is what prevents that.
Take photos before you touch anything. A phone camera is the most important tool in your kit. Photograph the component from multiple angles before you remove a single fastener. Photograph the wire connections if any are visible. Photograph the position of adjustment nuts and bolts. This is the same documentation habit we follow on every Gate Repair in Camarillo visit: a record of what existed before any work began, so there is never a question of what was changed.
Measure and record. Before removing a hinge, measure the distance from the gate leaf to the post at both the top and bottom. Before loosening a chain tensioner, mark the current position with a paint pen or masking tape. Before replacing a roller, measure the bracket spacing and roller diameter. These numbers make reassembly deterministic instead of guesswork.
Essential tools for frame and mechanical work:
- Socket set with metric and SAE sockets (many imported gate frames use metric fasteners, many domestic frames use SAE; you need both)
- Torque wrench (over-tightening a hinge bolt will distort the post or strip threads)
- Bottle jack or floor jack for supporting gate weight during hinge work
- Level (a 24-inch level is enough to verify the gate is plumb after reassembly)
- Paint pen or masking tape for position marking
- Dead blow hammer, not a steel hammer, for seating parts without damaging surfaces
- Digital caliper (a $30 caliper answers questions that cost $150 in wrong parts)
- Penetrating oil for corroded fasteners (Camarillo’s coastal influence means rust on older hardware, especially on properties west of the 101)
Note what is not on this list: a multimeter, circuit tracer, or any electrical diagnostic equipment. That’s deliberate. The tools for mechanical work are mechanical. The moment you need electrical test equipment is the moment the job crossed the component line and it’s time to call someone who carries that equipment daily.
The Real Cost of a DIY Attempt That Escalates
Most homeowners evaluate a DIY repair by comparing the cost of the part to the cost of a technician’s hourly rate. That comparison is incomplete. The real calculation includes the cost of the damage when the attempt fails, and the cost of the technician’s diagnostic time when they inherit an undocumented partial repair. In our experience serving Camarillo, the average DIY electrical attempt that ends in a service call costs between 1.5 and 2.5 times what the original professional repair would have cost. Here is where that money goes.
Board damage. This is the most expensive single mistake, and it happens more often than most people would believe. A homeowner probes a connection and bridges the wrong two terminals. Surge. Board is dead. A replacement control board for a Linear or Viking operator runs between $400 and $800 depending on the model, and that is before installation. On newer models with integrated receivers or battery management, the board can exceed $900. The board cost alone exceeds most service calls.
Diagnostic time on an undocumented repair. When a homeowner has already loosened adjustment screws, changed wiring, or replaced a part incorrectly, the technician arriving afterward must first figure out what was changed before they can diagnose the original problem. That is billable time. On a typical undocumented partial repair, our technicians spend 30 to 60 minutes just establishing a baseline: what was original, what was modified, what was left disconnected. Compare that to a documented repair where the technician’s record shows exactly what was done and when.
Parts replaced twice. A common pattern: a homeowner replaces a part based on a guess, the part does not fix the problem, and the technician later determines the original part was not the failure. The homeowner has paid for the wrong part, the time spent installing it, and then the correct repair on top. In Camarillo’s gate market, most common mechanical parts like rollers and hinges are $20 to $60 each, so the cost of a wrong guess on these is moderate. But when the guess involves a motor capacitor or a limit switch, the part cost jumps and the likelihood of misdiagnosis increases.
The cost we do not count, but should: when we arrive at a Camarillo home and the gate is partially disassembled, an open housing with exposed wiring is an immediate hazard. We address it on the spot, but the liability window existed from the moment the cover came off to the moment we arrived.
How to Create a Handoff Document for Your Own Maintenance
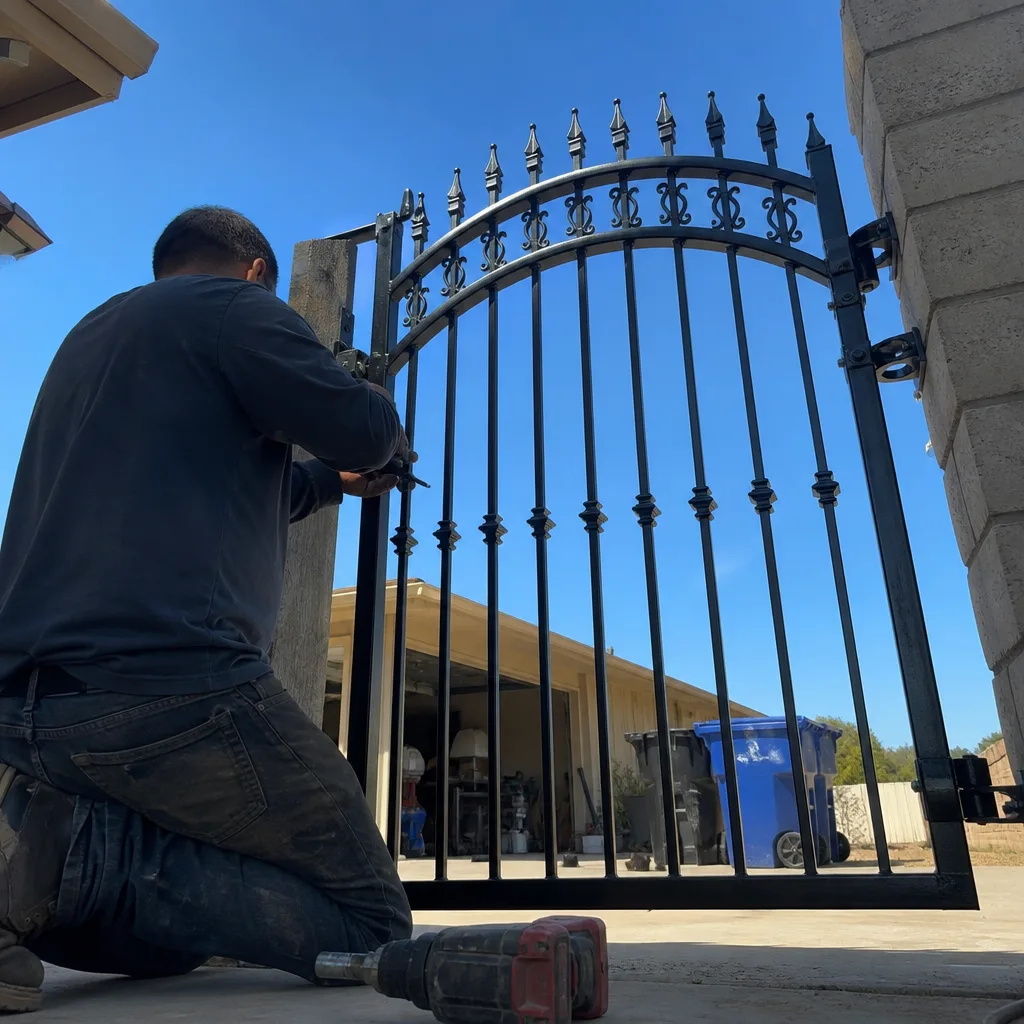
If you’ve done your own maintenance or mechanical repairs, the single most valuable thing you can leave behind is a written record of what you did. Not for sentiment. For the next technician. A good handoff document saves the next hour of diagnostic time and prevents a professional from having to reverse-engineer your work before addressing the actual problem. Here is the format we recommend, and it mirrors what our technicians document on every Gate Installation in Camarillo job we complete:
- Date and scope. “November 14, 2025: Replaced bottom hinge on right gate leaf.” Write it in one sentence, then stop. A scope is not a story.
- Parts used. List the specific part numbers or at minimum the part description and source. “Replacement roller, 60mm OD, matched to existing bracket” is more useful than “new roller.” If you don’t have a part number, describe the measurements you used to match the part.
- Measurements recorded. Include the before and after measurements for anything adjustable: chain deflection, gate clearance, gap at the latch, distance from leaf to post. These numbers tell the next person whether the system has moved since your work.
- Photos. Three to five photos: one wide shot of the gate, one close shot of the component replaced, one shot of any adjustment point. Photographs answer questions faster than any written description.
- What you did NOT touch. This section is underrated. “Did not adjust limit switches, did not open motor housing, did not modify sensor wiring.” When a technician inherits a system, knowing what was left alone narrows the diagnostic field.
- Your name and the date. A handoff document without attribution is just a note. If the next technician has a question about what you wrote, they should know who to ask.
Keep the document in the gate’s motor housing if there is a weather-sealed envelope attached to it, or in your home maintenance file alongside more guides & resources. A record that exists only in your memory is not a record. This is the Haven Standard practice applied to your own work: a written scope, a written record, and photographs, so no one pays twice to rediscover the same problem.
What Your Gate Motor Brand Means for the Decision
The brand of operator on your gate changes the DIY calculation more than most homeowners realize. Some brands are forgiving of field adjustments and publish detailed homeowner-level documentation. Others are not, and their boards are expensive enough that a wrong move is costly. If your Camarillo gate has a FAAC or BFT operator, this section is particularly relevant: these are high-quality European units with tight tolerances and boards that are genuinely expensive to replace. A FAAC 455D board, for instance, costs enough that no one should probe it without the wiring diagram in hand.
Linear and Viking operators are more common on domestic installations and tend to have simpler board layouts, but they still require the same respect for UL 325 compliance. The brand matters less than the principle: before touching any electrical component, know the board model, confirm the wiring diagram is available, and understand what the adjustment you’re about to make actually controls. On a LiftMaster unit, the limit adjustment is clearly marked and reasonably intuitive. On some FAAC units, the limit adjustment is performed through a menu system with parameter codes that are meaningless without the manual.
Our service coverage includes the full range of major brands because Camarillo homeowners don’t choose a technician based on one brand: they choose based on who can work on the motor already bolted to their driveway. The honest version of this section is simple: if you cannot locate the manual for your specific board model, the DIY electrical job is over before it starts. The manual is the instruction set. Without it, you are guessing, and guessing into a $600 board is not a repair strategy.
Camarillo-Specific Conditions That Affect Gate Wear
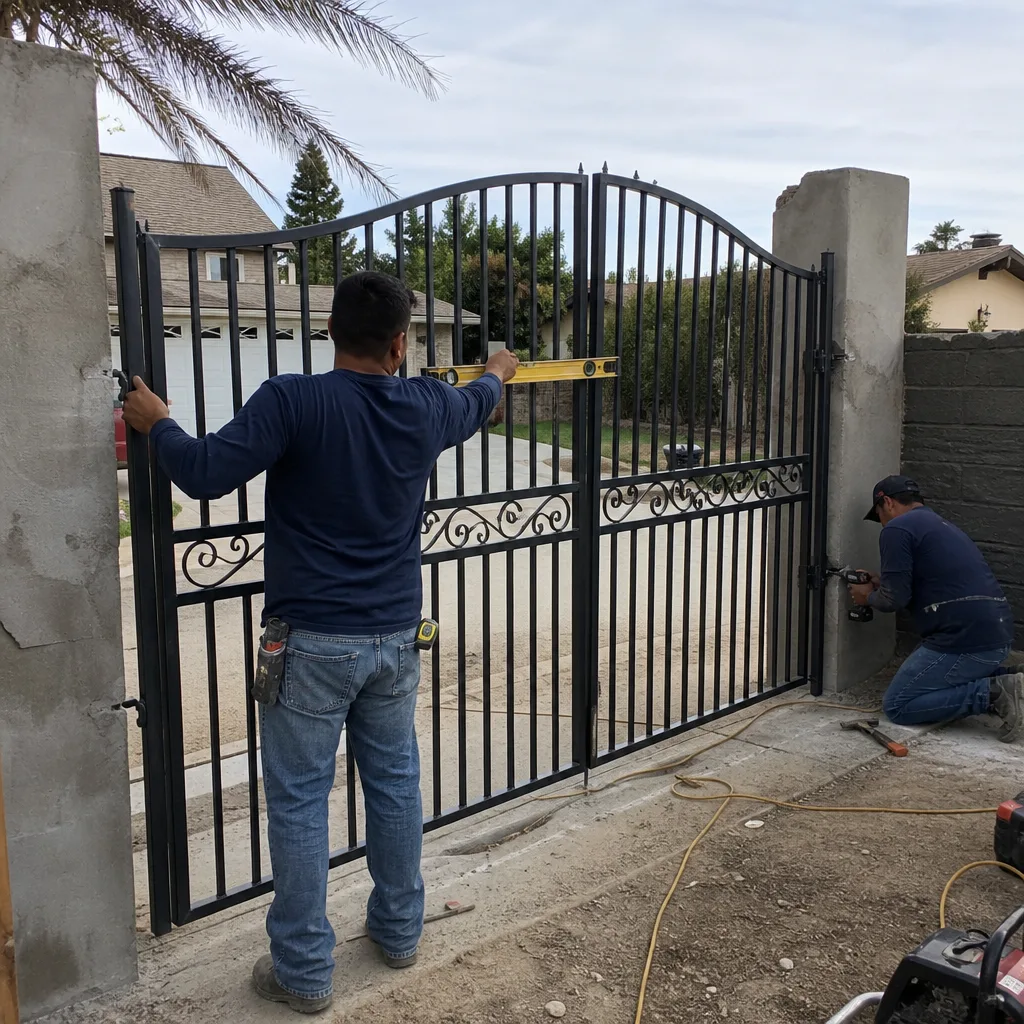
Camarillo’s climate does specific things to gate hardware, and those specific things should inform your maintenance schedule and your repair decisions. The city sits in a transition zone between the coastal marine layer and the inland valleys, which means mornings with fog and afternoons with full sun. That daily cycle of moisture and heat accelerates two failure modes in particular.
Corrosion at dissimilar metal junctions. Where a steel bolt passes through an aluminum frame, the two metals create a galvanic reaction accelerated by the moisture cycle. This is why we see seized fasteners on Camarillo gates more often than on gates in dry inland communities like Simi Valley or Fillmore. If you’re doing mechanical repair work on a gate in the Mission Oaks or Village at the Park neighborhoods and a bolt will not turn, stop and apply penetrating oil before forcing it. A sheared-off bolt inside an aluminum post is a much bigger problem than a few minutes of patience.
Photoelectric sensor haze. The same fog that rolls up the Calleguas Creek corridor leaves a fine film on photo-eye lenses. The sensors are infrared beams; when the lenses get hazy, the beam weakens and the gate can behave erratically: reversing mid-cycle, failing to close, or refusing to open. This is one electrical-adjacent maintenance task a homeowner can safely handle. Wipe the sensor lenses with a dry, soft cloth. Do not use glass cleaner or any solvent; the residue makes the hazing worse. If the erratic behavior persists after cleaning, the issue is likely alignment or a failing sensor, and that’s a service call.
Soil movement. Camarillo’s clay-heavy soils expand and contract through the wet-dry cycle, and gate posts set in that soil can shift a degree or two over a few years. A gate that scraped at the latch end last winter may clear it this summer and scrape again next winter. If you’re chasing an intermittent scrape, check the post plumb before adjusting anything. A sagging gate is one problem; a shifting post is a different problem with a different fix.
Common Mistakes to Avoid
- Forcing a seized bolt. Camarillo’s moisture cycle seizes fasteners. Applying full force to a corroded bolt on an aluminum frame will shear the bolt or crack the post. Penetrating oil first, and be patient.
- Lubricating the photo-eye lenses with a spray. Any lubricant or solvent on the lenses leaves a film that scatters the infrared beam. Dry cloth only.
- Adjusting limit switches without marking the original position. If the adjustment does not fix the problem, you need a path back to where you started. Without a mark or photo, you don’t have one.
- Replacing one worn component in a system that shares load. A single new roller on a gate with four worn rollers fails quickly. Replace the set if the set is worn, and measure the wear across all contact points.
- Probing a control board with a multimeter set to the wrong function. Measuring resistance across a powered capacitor or voltage across a dead circuit can bridge terminals and send current where it should not go. A $600 board becomes scrap in the time it takes to blink.
- Not photographing before disassembly. Your memory of which wire went where is not reliable. Phone storage is free. Use it aggressively, or prepare to pay a technician to reconstruct what you should have recorded.
- Thinking a working gate is a safe gate. A gate that opens and closes but has been modified in its travel limits or sensor alignment can be an entrapment hazard. Function is not the same as compliance.
When to Call a Professional
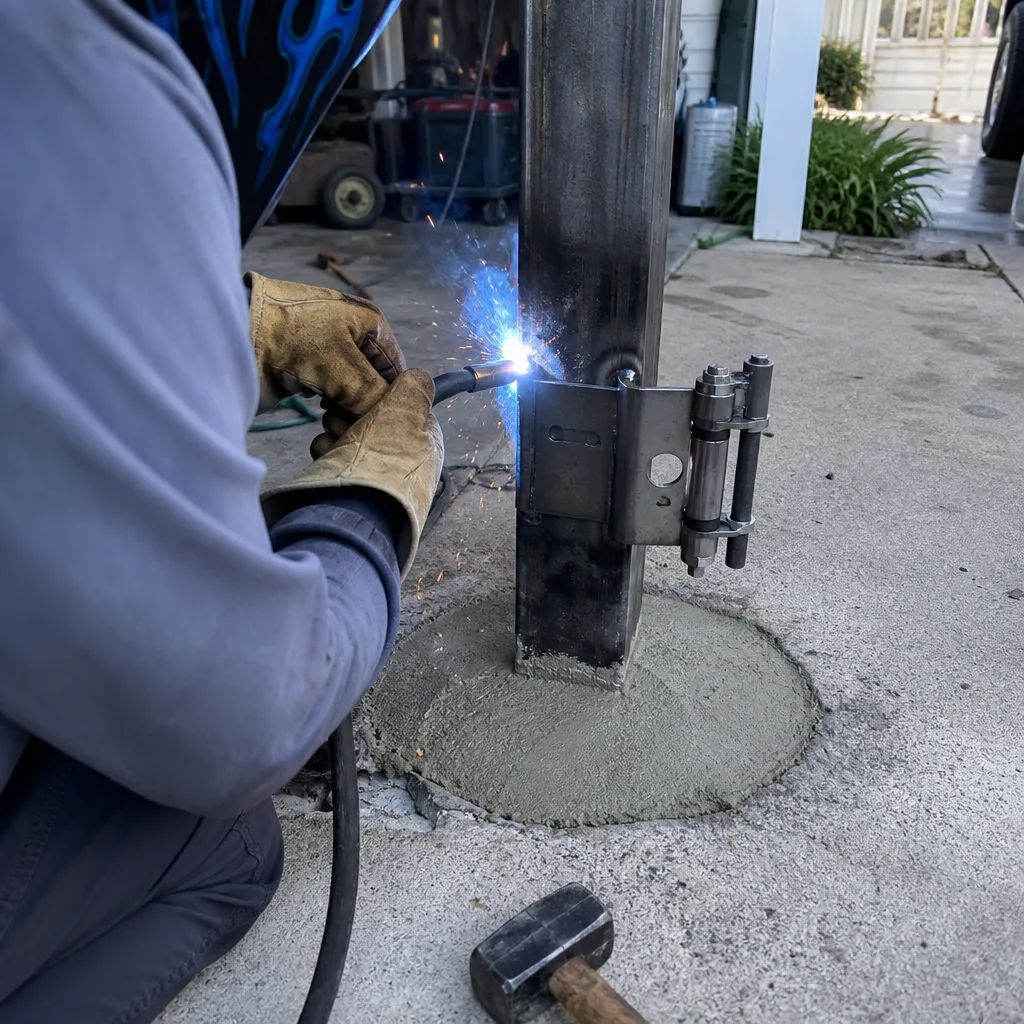
Call a professional when the component you’re looking at is on the electrical side of the line: limit switches, sensor alignment, control board wiring, capacitor replacement, or any failure you cannot identify by looking at the physical wear. Call a professional when the gate behaves intermittently and you cannot reproduce the failure on command; intermittent electrical faults are the hardest to diagnose without test equipment and experience. Call a professional when a repair you’ve already done does not hold, because that tells you the failure is not where you thought it was. Vance Gate Repair Camarillo offers free estimates throughout Camarillo, with a written price before any work starts. Call (805) 516-0855 and talk to a live person, any hour, any day.
Frequently Asked Questions
Most mechanical repairs on a residential gate in Camarillo run between $150 and $400, including parts, depending on what’s worn and whether it’s a swing or slide gate. Electrical repairs are broader: a limit switch replacement typically runs $250 to $500, while a control board replacement ranges from $600 to $1,100 depending on the brand and model. Every job we quote includes a written price before work starts. Call (805) 516-0855 for an exact quote, and it’s free.
For repair calls in Camarillo, we dispatch same day in most cases, and emergency calls are answered 24/7 by a live person on the phone. Installation and new operator work is scheduled with a free measure and a written estimate first. If your gate will not close and you need it secured tonight, call (805) 516-0855 and we’ll get a technician on the road.
In Camarillo, the most common service call is an intermittent operator fault caused by sensor hazing or misalignment, often on gates exposed to the morning marine layer along the 101 corridor. The second most common is a worn hinge set on swing gates that creates a sag and scrape. Both are repairable; the sensor issue is a service call, and the hinge issue can be DIY if you’re comfortable with the mechanical work described above.
Every Gate Motor & Opener in Camarillo repair we complete is covered by our 365-Day Done Right Promise: if the repair is not right within one year, we make it right at no additional charge. No argument, no fee, no expiration dance. The price is written before the work starts, the photo record is delivered when the work is done, and the warranty covers the repair for a full year.
For most estimates, yes, because we need to confirm access to the gate and observe how it behaves under power. That said, if you have a side gate or pedestrian access and the gate can be reached, we can often assess the mechanical condition without entry to the home itself. The estimate is free, and the price is written before any work begins.
Yes. We service Viking, FAAC, BFT, Linear, LiftMaster, Ghost Controls, DoorKing, Elite, and Mighty Mule operators, which covers nearly every system on a Camarillo driveway. We do not steer customers toward a replacement when the existing motor can be repaired, and the repair decision is made with the written price in front of you before anyone picks up a tool. Call (805) 516-0855 and we’ll identify your operator over the phone.
The Bottom Line
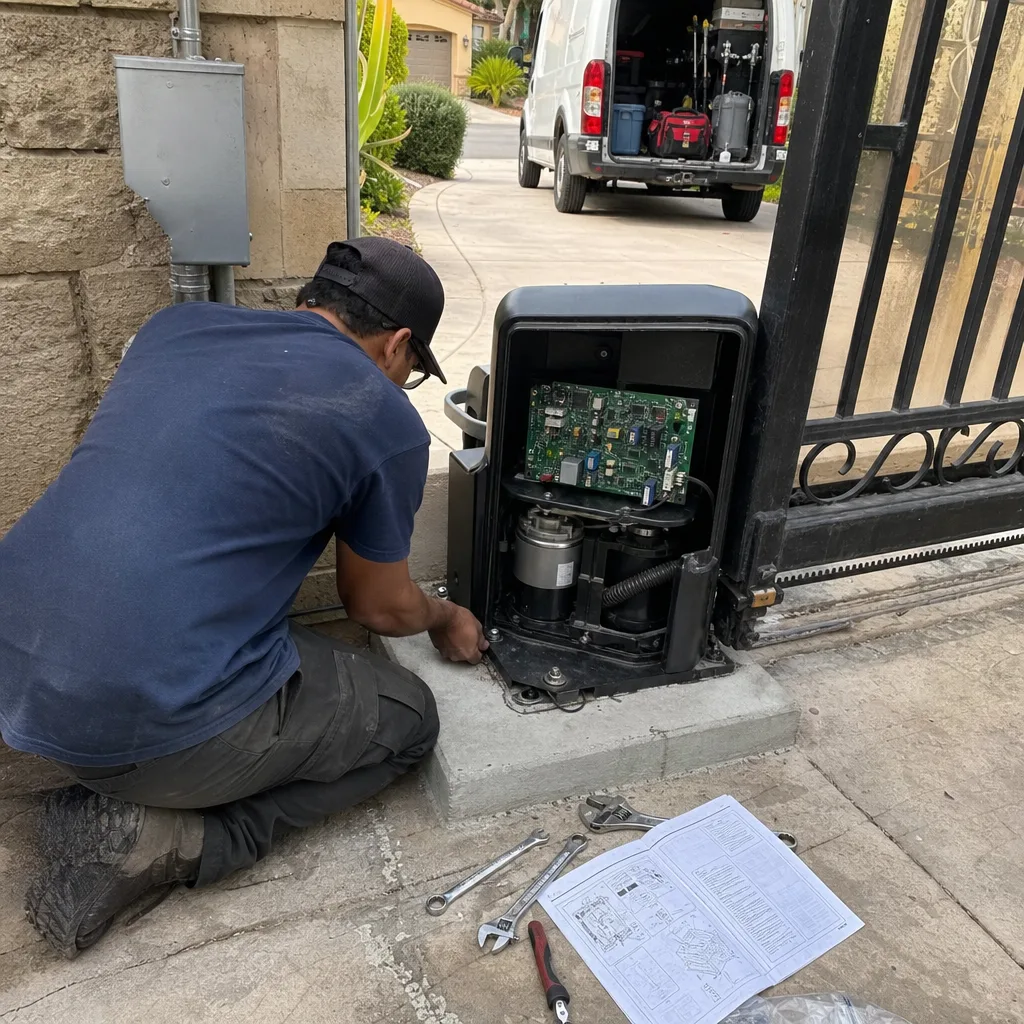
Gate repair is not a test of your abilities; it’s a question of where the failure lives. Camarillo homeowners can safely handle hinge replacement, roller swaps, chain tension, and lubrication with basic tools and a habit of photographing before disassembling. Everything electrical, from limit switches to sensors to board work, belongs with a technician who understands UL 325 entrapment requirements and has the documentation to prove the system is safe after the repair. A good handoff document makes DIY maintenance a professional asset rather than a professional problem. When the job crosses the line, call (805) 516-0855 for a free estimate and a written price before any work begins. We’re right here in Camarillo, and a live person answers the phone at any hour.
Written by Adrian Vance, Owner at Vance Gate Repair Camarillo, serving Camarillo since 2014.