
Last updated September 20, 2026
Free on-site gate assessment - hinges, posts, and your LiftMaster or Nice gate operator checked before anything is quoted
The assessment is free and the quote is the invoice.

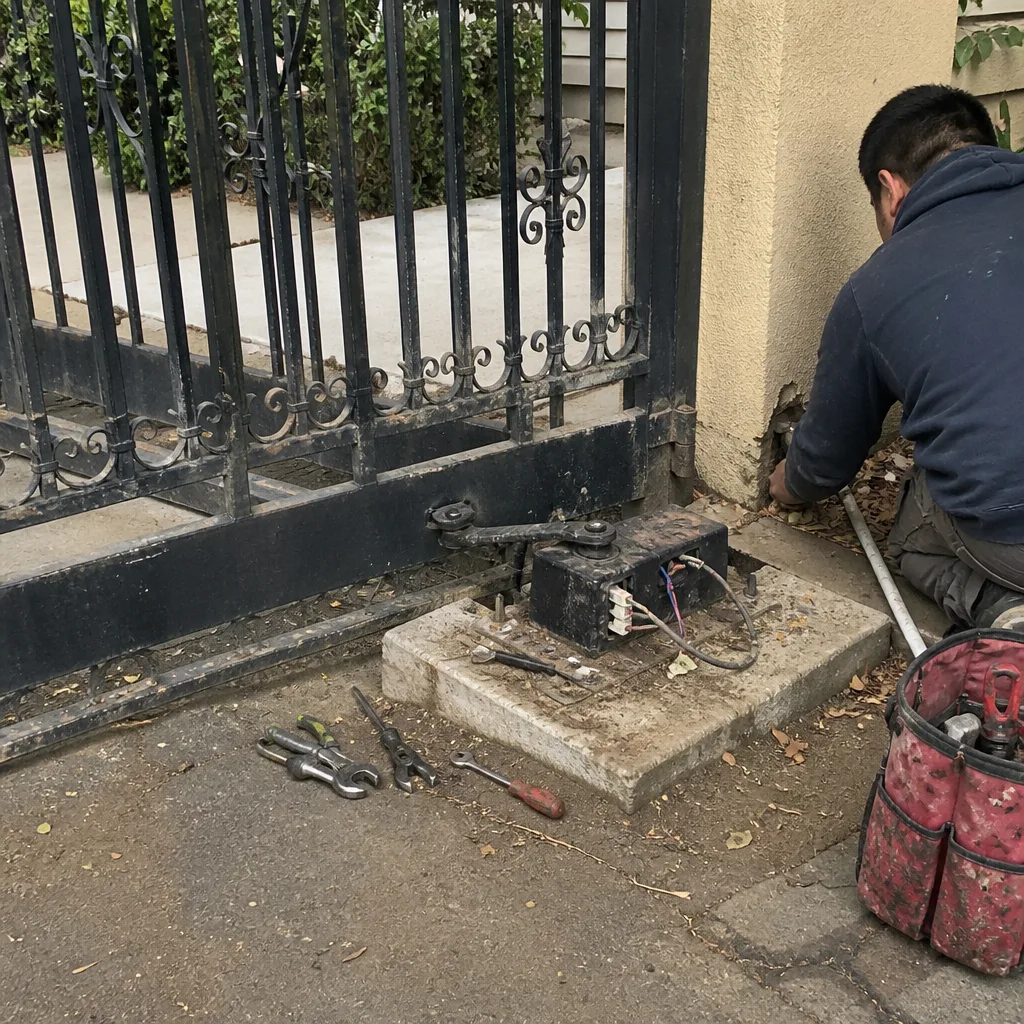 Before
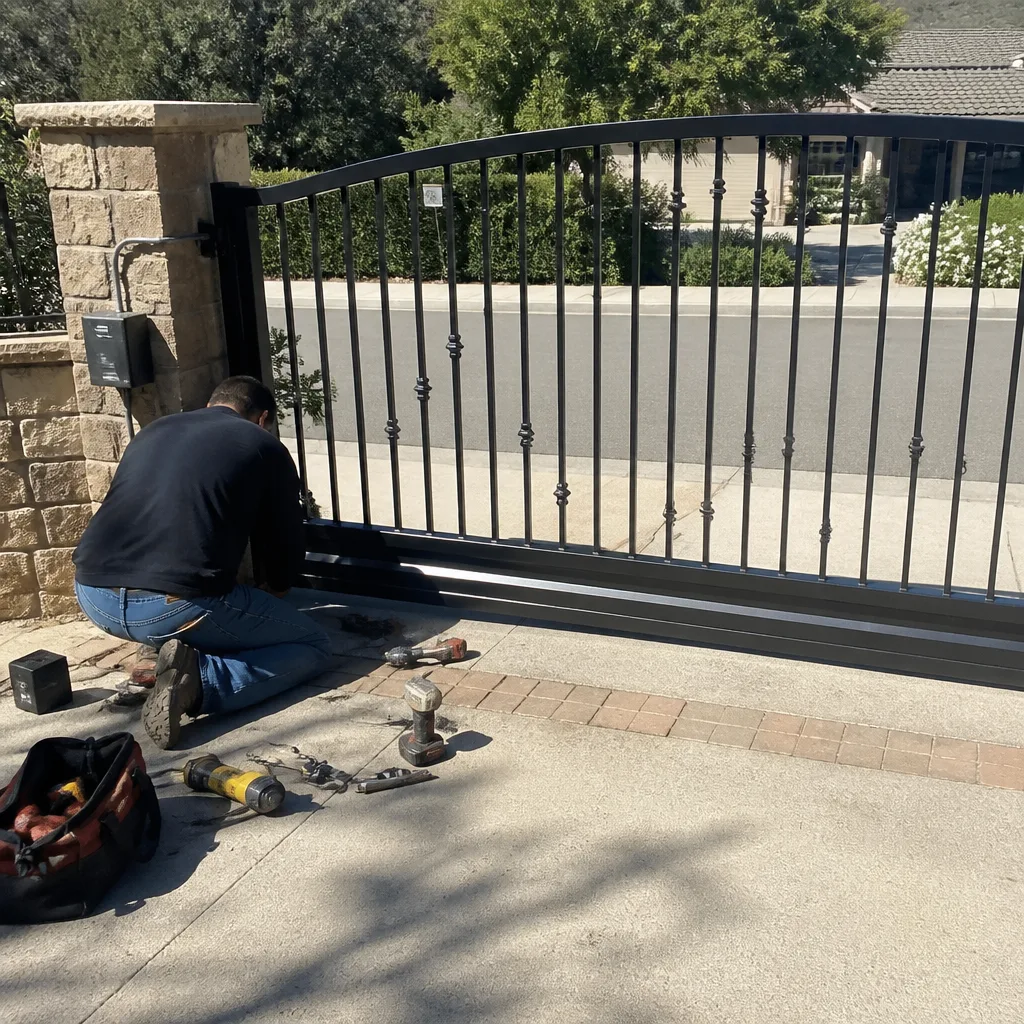 After
After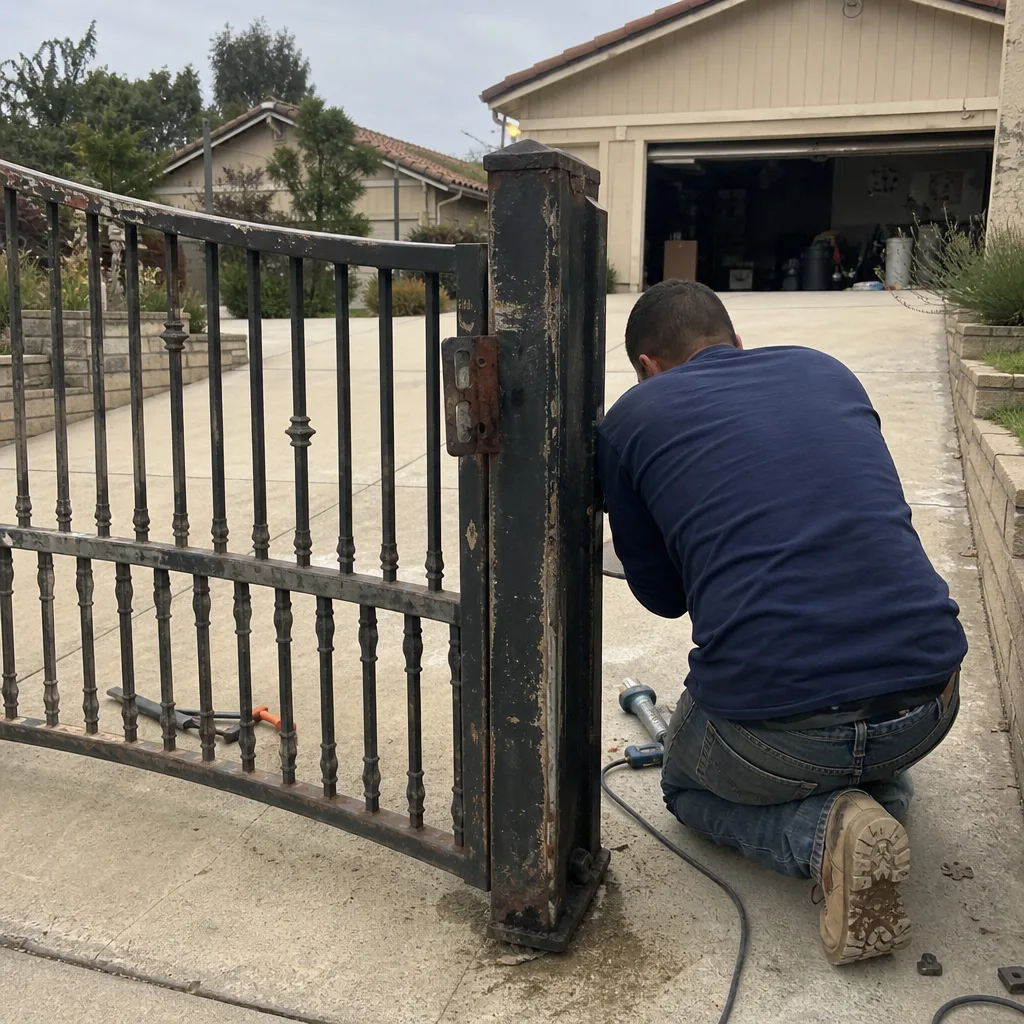 Before
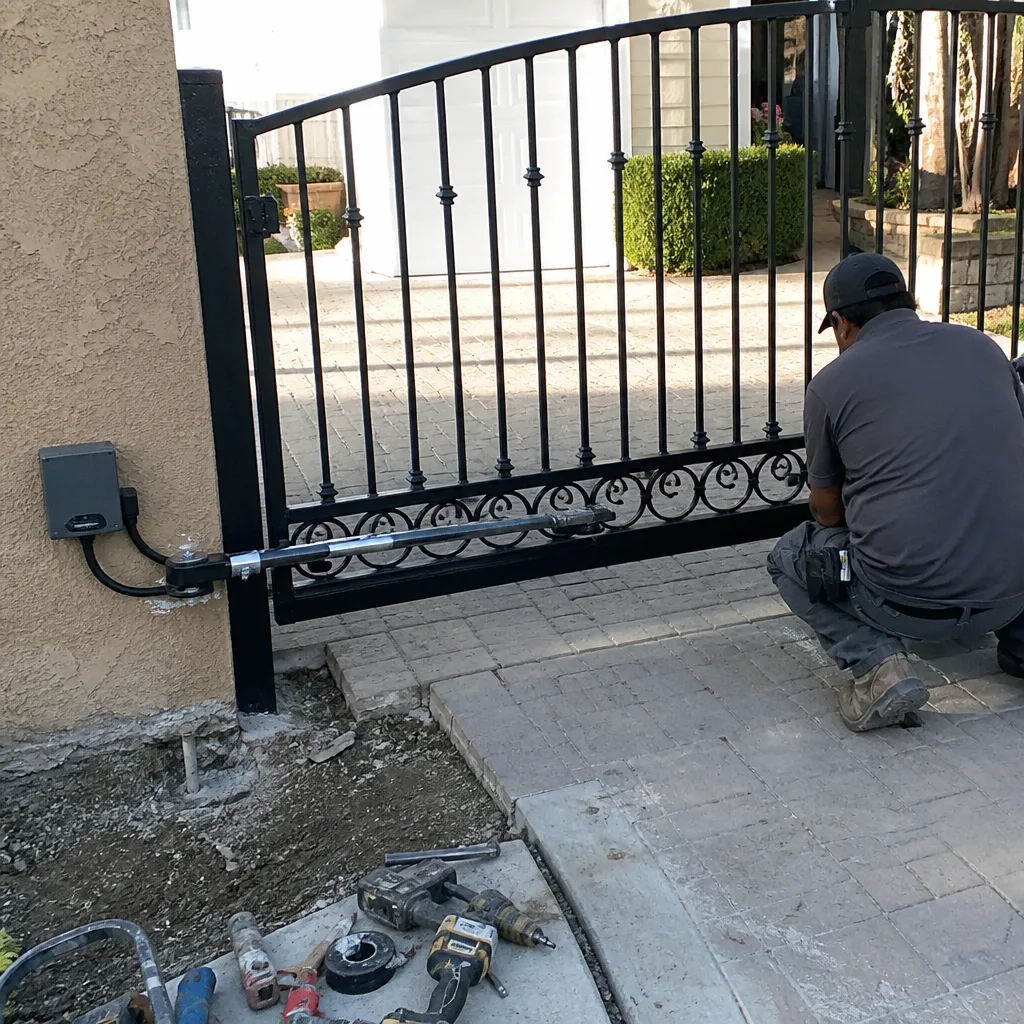 After
After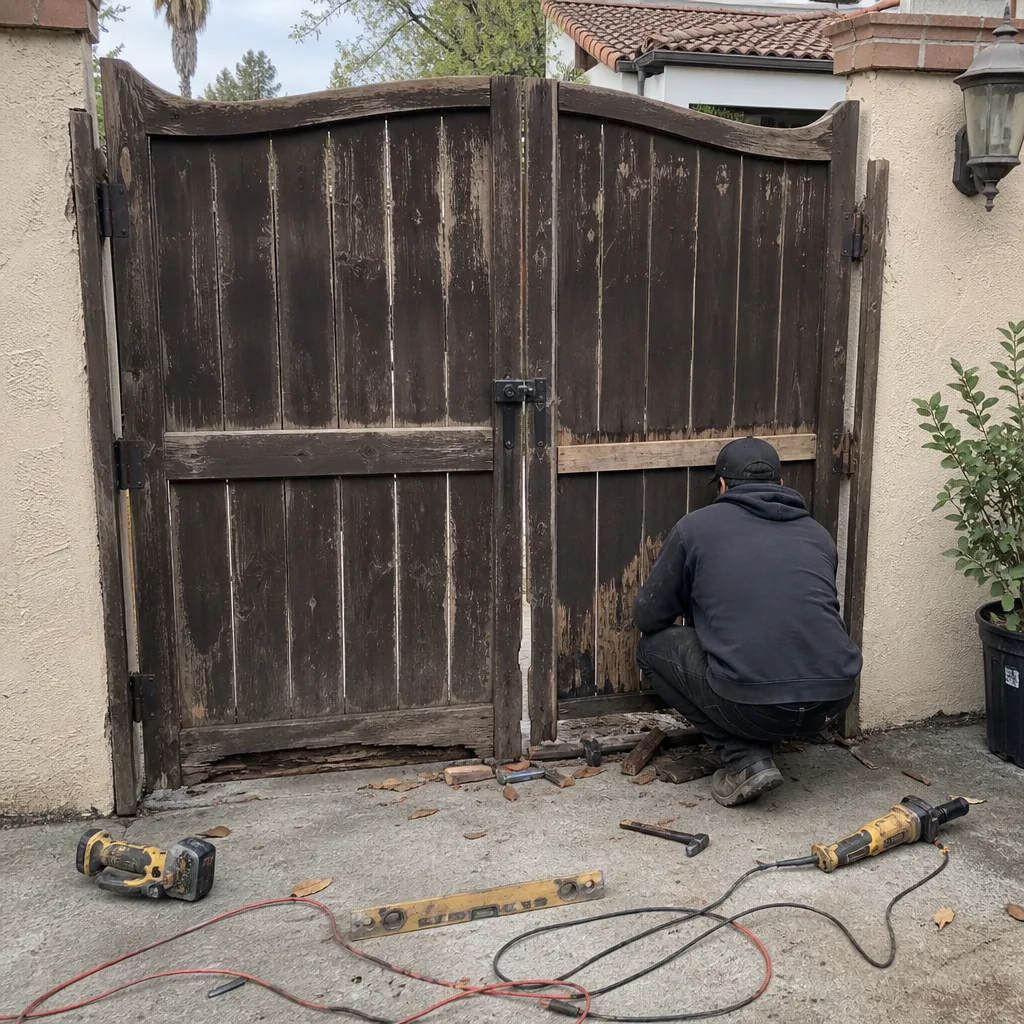 Before
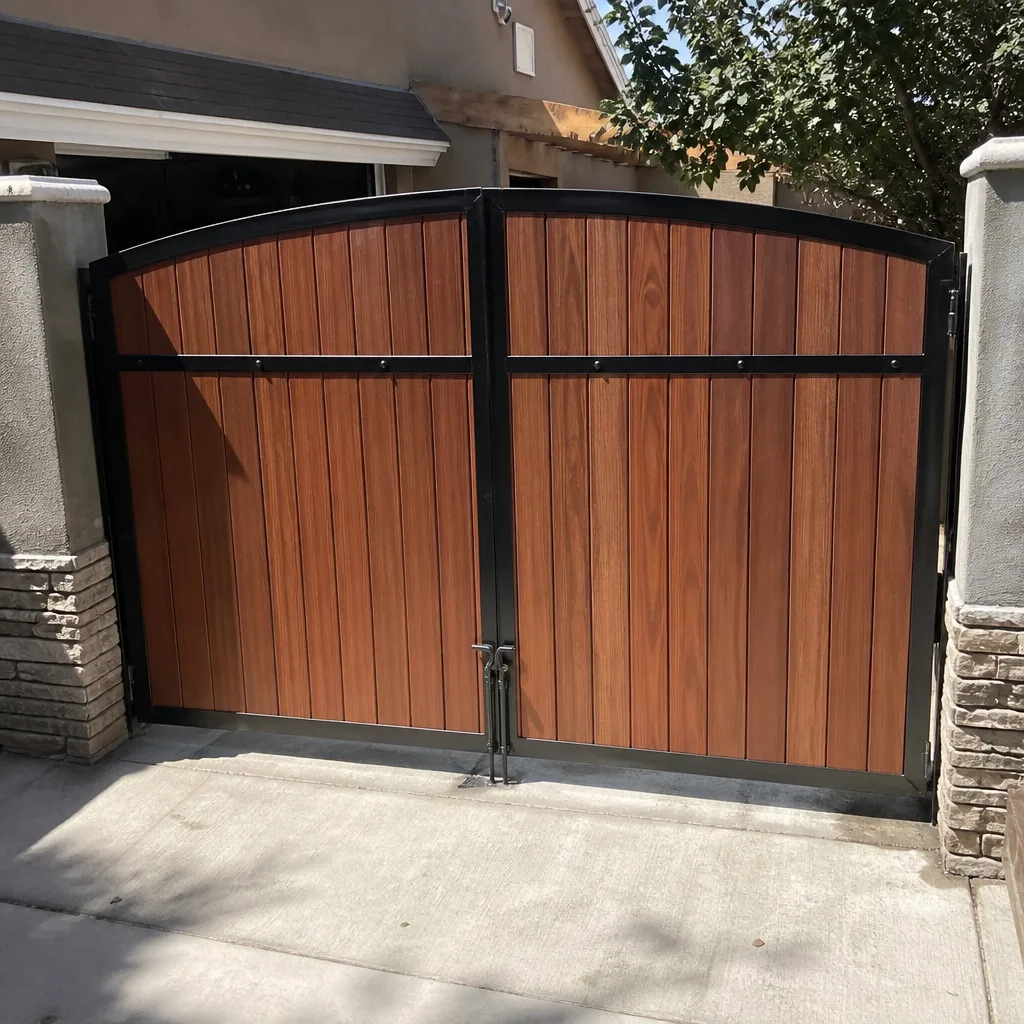 After
AfterGate Repair Maintenance Checklist for Camarillo Homeowners
The three most common gate repairs in Camarillo are hinge wear, limit-switch drift, and corroded terminal blocks. None of them fail suddenly. Each one sends a measurable signal six to twelve months before the gate stops working, and a homeowner with a tape measure, a flashlight, and a phone camera can catch every one of them. This guide converts each maintenance task into a pass/fail test with a specific number attached, so you can hand a technician a completed inspection sheet instead of a vague complaint like “the gate feels off.” For additional help identifying problems early, read our Gate Repair Warning Signs: A Camarillo Homeowner’s Reference Guide.
Quick Answer
A Camarillo gate maintenance checklist works best when every task has a measurable threshold: gate sag should stay under 6 mm at the latch edge, battery voltage should read 12.4V or higher at rest on solar gates, and chain slack on slide gates should never exceed 1 inch of total deflection. Run through the full inspection in about 45 minutes twice a year, once in early spring before the marine layer settles in and once in late fall after Santa Ana winds have stopped throwing debris at the track. Anything that fails a measurement below gets logged with a photo and a number, then handed to a technician who can quote the repair from the record alone.
Table of Contents
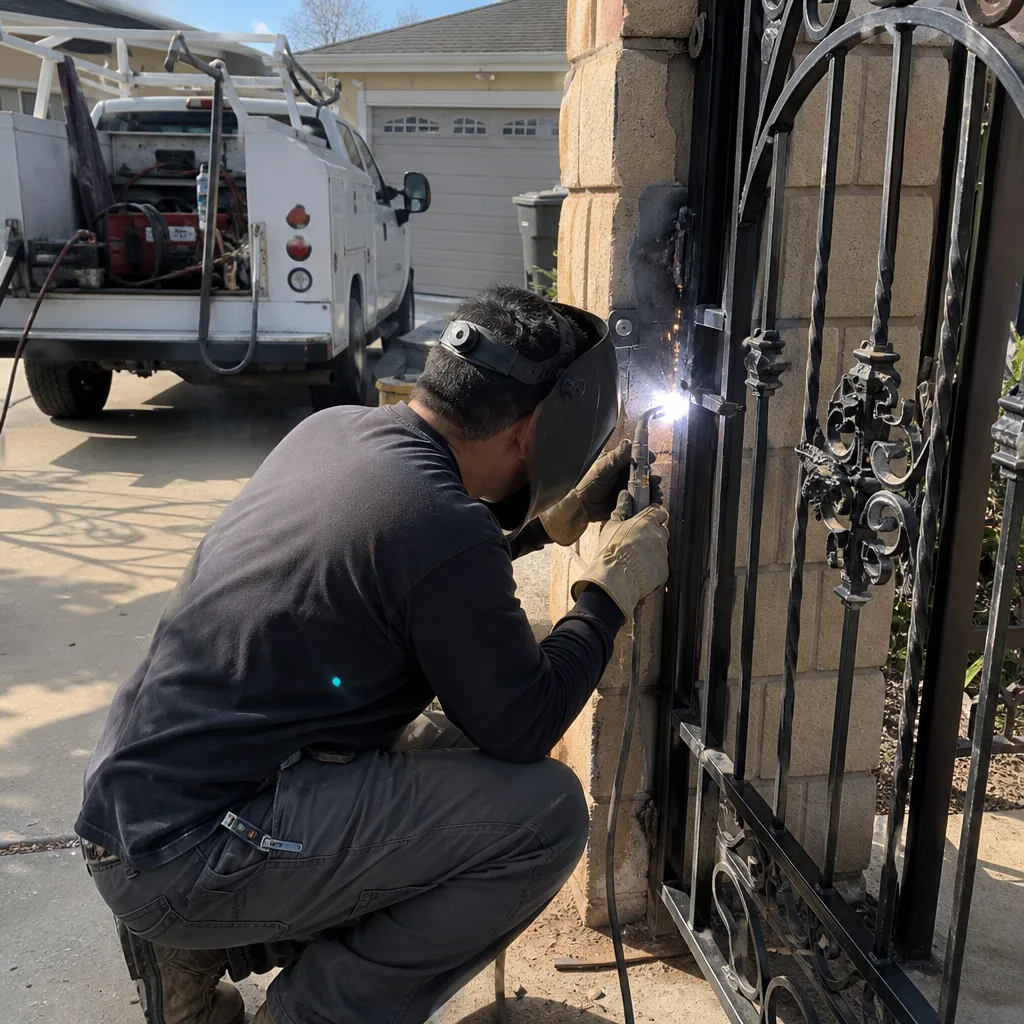
- Tools You Need (and Which Tasks Stay Off Your List)
- Hinge and Gate Sag: Measure It in Millimeters
- Battery Voltage: The Number That Predicts Motor Failure
- Chain and Track Slack: The 1-Inch Rule for Slide Gates
- Photo-Eye Alignment: The 2-Inch Drift Test
- Terminal Blocks and Wiring: What Marine-Layer Corrosion Looks Like
- How to Log Findings So a Technician Can Actually Use Them
- Camarillo Maintenance Frequency Table
BeforeAfterTools You Need (and Which Tasks Stay Off Your List)
You need four tools for a complete Camarillo gate inspection: a metric tape measure, a basic multimeter with a DC voltage setting, a flashlight with a focused beam, and a phone camera. That’s it. The multimeter is the only piece that costs more than twenty dollars, and a basic model from a hardware store in Camarillo’s Old Town area will cover everything on this checklist. In our experience, the homeowners who skip maintenance do it because the task list looks vague, not because the tools are expensive.
Before we get into the measurements, let’s draw the line clearly: there are tasks on this checklist that are safe for any careful homeowner with a flashlight and a tape measure, and there are tasks that touch live circuits and should stay on a technician’s side of the line. A gate operator running on a 24V DC control circuit is unlikely to injure you, but a swing gate powered by a 120V AC arm is a different animal, and so is any work inside a panel where the main feed lands. The rule we use on every job: if you’re unscrewing a terminal, pulling a wire, or holding a metal tool near an energized component, stop. Observation is your job. Correction is ours.
What follows is every task a homeowner can complete safely, with the threshold number that separates “still fine” from “book a service call.” For deeper background on regulatory requirements, see our guide to Gate Repair Permits, Codes & Inspections in CA: What You Need to Know. Anything beyond the measurement is flagged accordingly.
Hinge and Gate Sag: Measure It in Millimeters
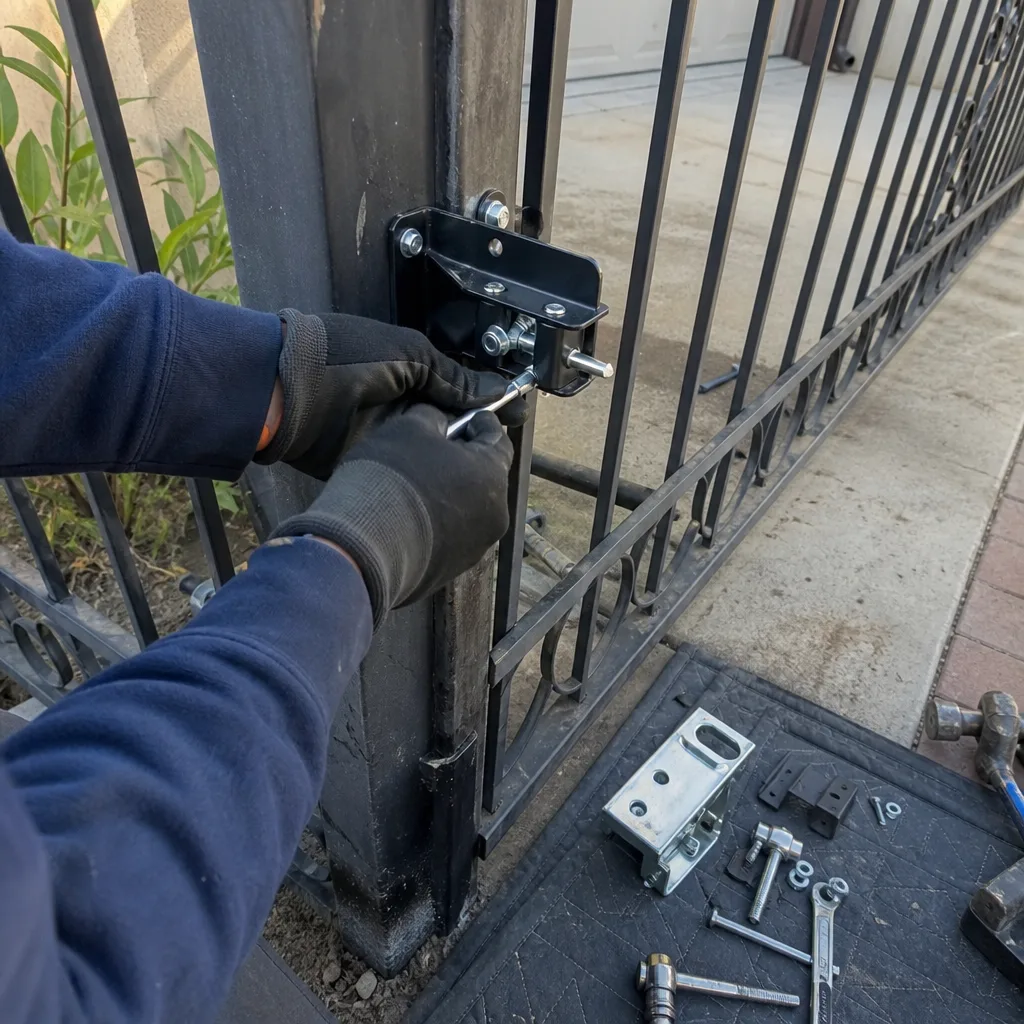
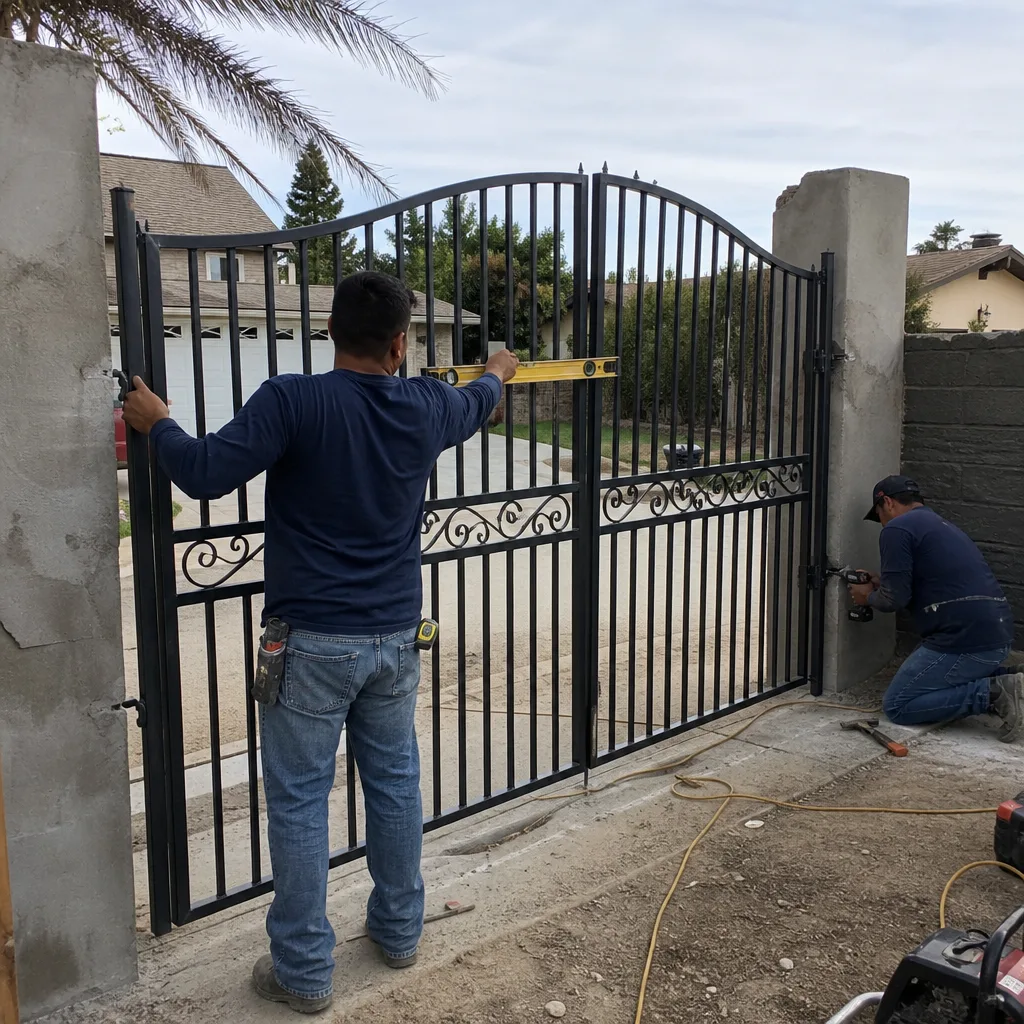
Here is the number that matters most on a swing gate in Camarillo: 6 millimeters. That’s the maximum acceptable drop at the latch edge of a gate leaf compared to its original level position, measured at the point farthest from the hinge post. If your gate has two leaves that meet in the middle, measure both at the center seam.
How to measure it:
- Close the gate fully and lock it if it has a latch.
- Stand at the latch edge and find a fixed reference point on the gate itself, not on the ground. The top rail or a welded picket works well.
- Use your tape measure to check the distance from that same reference point to the top of the fixed post on the opposite side. Write the number down.
- Repeat the same measurement when the gate is held manually level, if you can lift it at all. The difference between the two numbers is your sag.
If the difference is under 6 millimeters, your hinges are doing their job. If it’s between 6 and 12 millimeters, the hinge bushings are wearing but the fix is likely simple: bushing replacement and a re-level. If it’s over 12 millimeters, you have real structural movement, and the hinge post itself may have shifted in the ground. Camarillo’s soil is mostly clay loam, and it expands and contracts with the winter rains more than most homeowners realize. A post that moved half a centimeter in one wet season is telling you something about the footing underneath it.
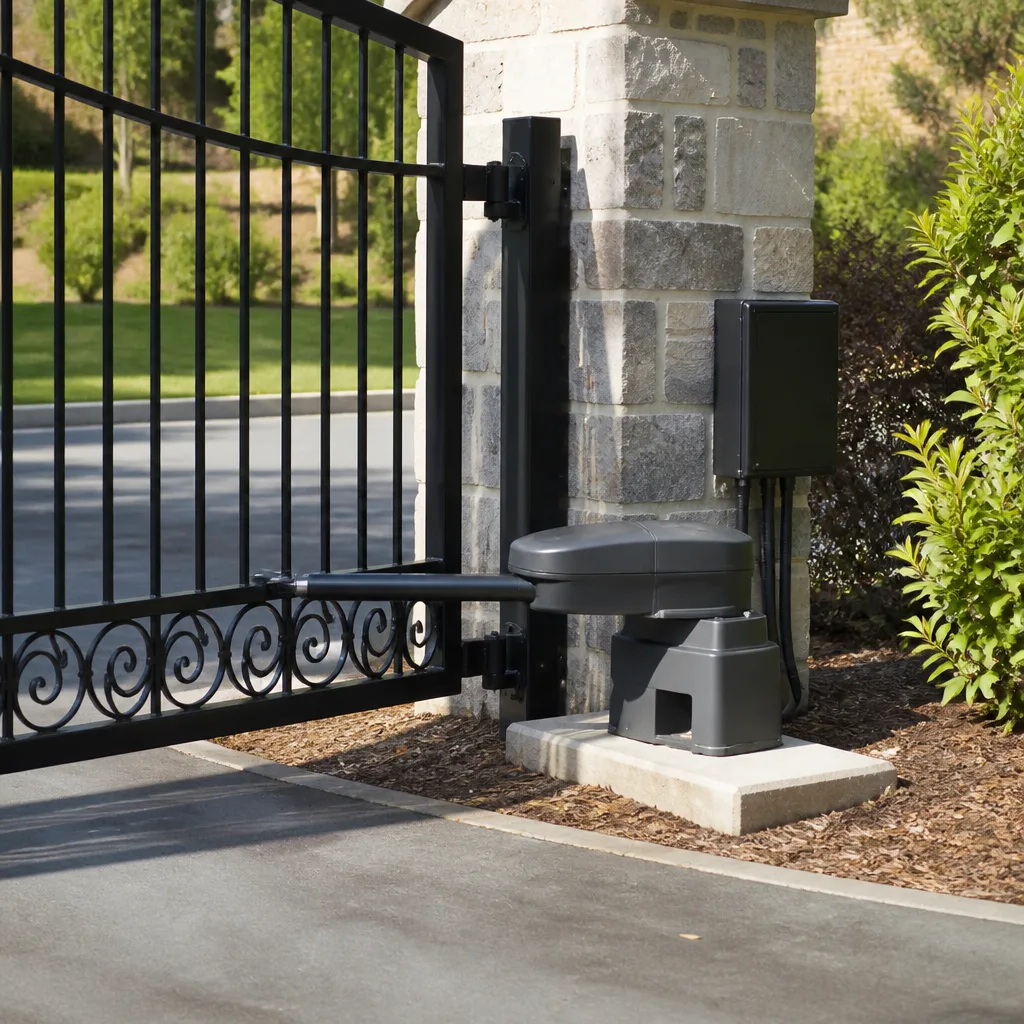
We service swing gates on LiftMaster and FAAC operators across Camarillo regularly, and sag is the single biggest killer of those motors. When a gate sags, the motor works harder at the end of its travel, the limit switch drifts sooner, and the gear train wears out faster. Catching sag at 8 millimeters means a $60 bushing job instead of a $900 motor replacement down the road.
Battery Voltage: The Number That Predicts Motor Failure
If your gate has a backup battery or runs entirely on solar, the single most predictive maintenance number is the resting battery voltage. Here’s the pass/fail line: 12.4 volts at rest. That’s the floor for a healthy 12V lead-acid or AGM battery in a gate operator. Anything below 12.4V when the system has been idle for several hours means the battery is not holding a full charge, and that failure is six to twelve months ahead of you at most.
How to take the reading safely:
- Open the operator cover and locate the battery. Do not touch any terminals with your hands.
- Set your multimeter to DC voltage, the 20V range on most units.
- Touch the red probe to the positive terminal and the black probe to the negative terminal. Read the number and write it down.
- Close the cover without disturbing any wires.
If the reading is 12.6V to 13.2V, your battery is healthy. If it’s 12.4V to 12.6V, it’s marginal and worth rechecking in a month. If it’s below 12.4V, call a technician. The fix may be a simple wiring correction, or it may be a battery replacement, but ignoring it means the gate will eventually fail to open on the one morning you need it most. Around Camarillo, solar gates on rural properties north of the 101 see this pattern constantly because marine-layer mornings in June cut solar input dramatically while the system still cycles twice a day.
Do not attempt to replace a gate battery yourself if the system is under load and you are not certain of the wiring. A reversed polarity connection on a gate control board turns a $120 battery swap into a $400 board replacement, and we see that exact failure at least monthly.
Chain and Track Slack: The 1-Inch Rule for Slide Gates
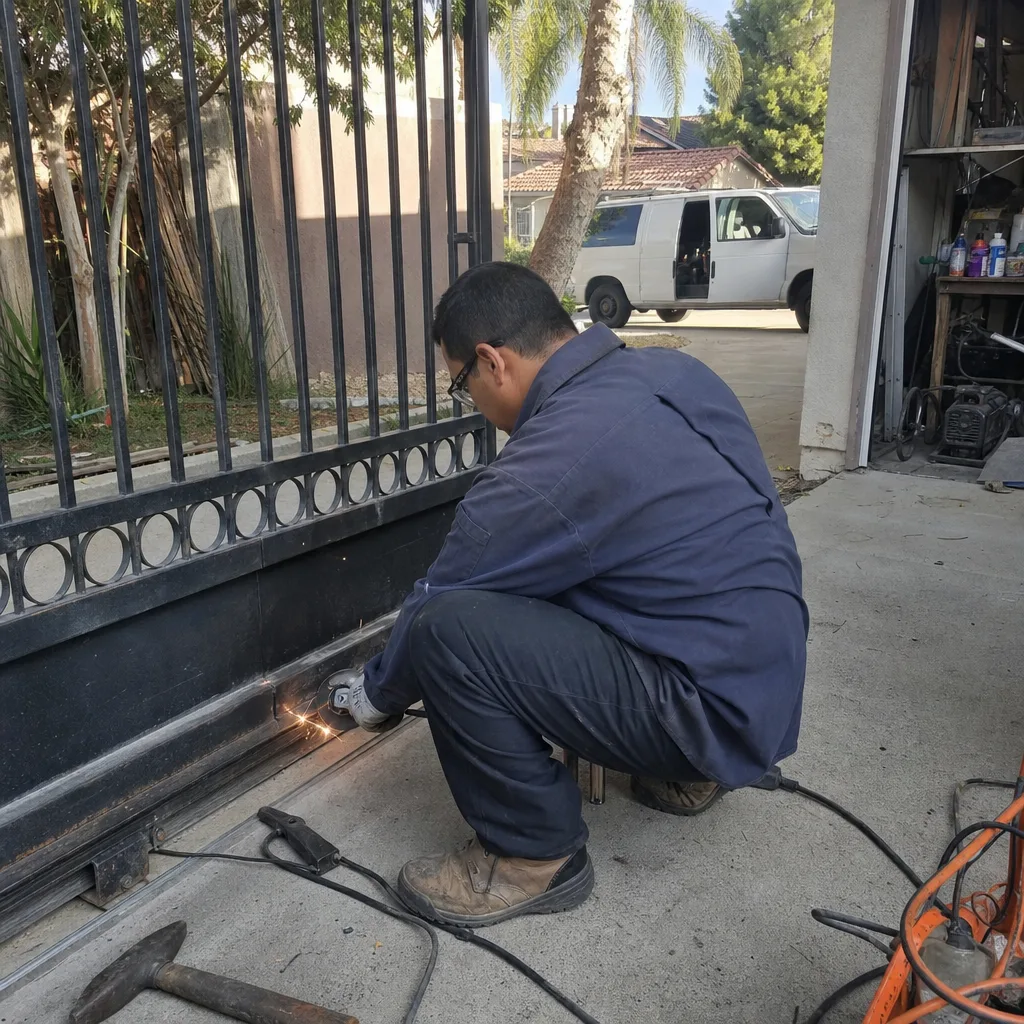
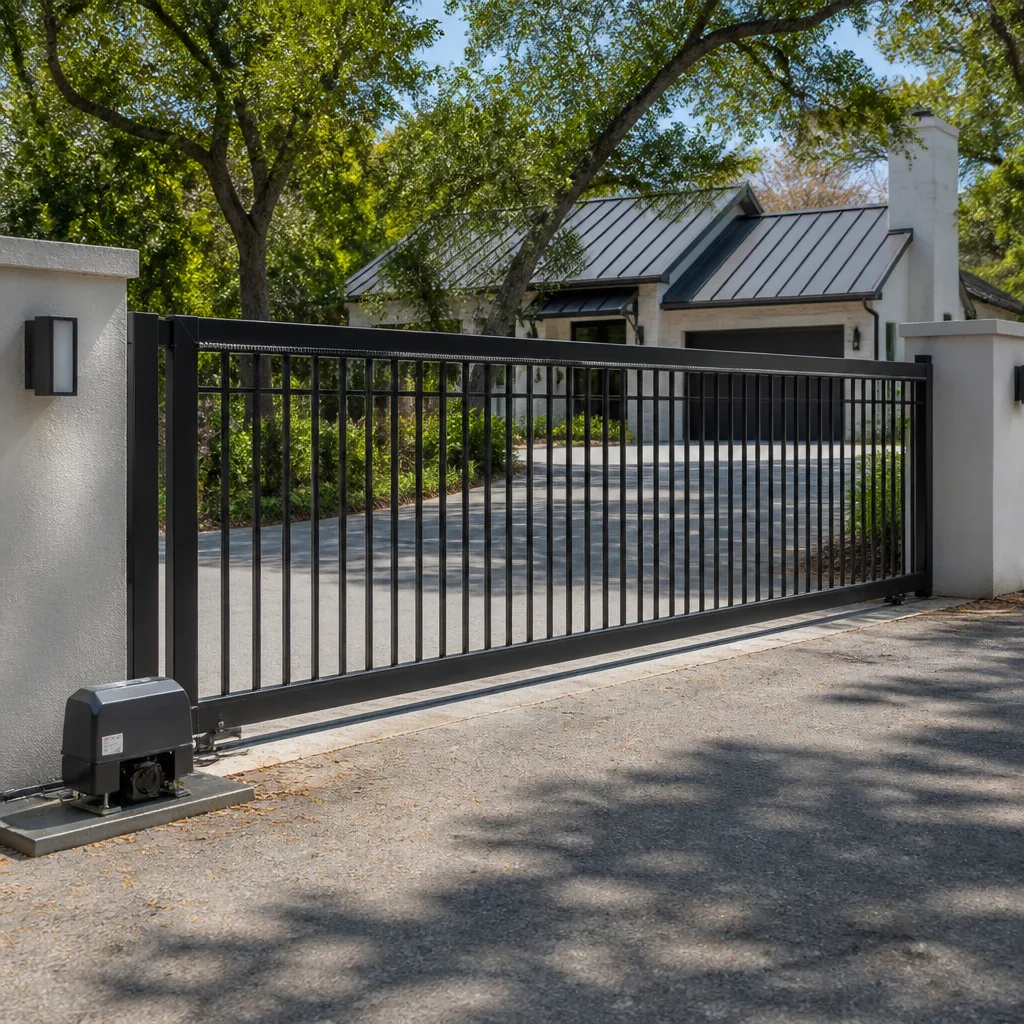
Slide gates, the kind that roll sideways on a track, are more common in Camarillo’s industrial-adjacent neighborhoods and on wider driveways off Santa Rosa Road and up toward the Santa Monica Mountains foothills. Their most common failure is chain slack, and the pass/fail line is simple: 1 inch of total vertical deflection at the midpoint of the chain run.
Here’s the measurement:
- Close the gate fully and turn the operator off at its disconnect switch if one is accessible. If not, simply do not touch the chain while it is moving.
- Find the midpoint of the chain between the drive sprocket and the far idler sprocket.
- Press down on the chain with one finger. Measure how far it moves from its resting position.
- If the total up-and-down movement at that midpoint exceeds 1 inch, log it as a failing result.
A chain with proper tension will have only slight give at the midpoint. A chain with 2 or 3 inches of play will jump teeth on the drive sprocket under load, and that’s the moment a slide gate stalls halfway open or slams against the end stop. We also check for wear on the chain itself: look for shiny or flattened surfaces on the link pins where they rub against the sprocket. If the pins look polished, the chain is stretching, and tensioning it is a temporary fix at best.
The track itself needs two checks. First, clear debris. Camarillo’s Santa Ana season, typically September through November, pushes dry eucalyptus leaves and sycamore bark into every horizontal surface on a property, and slide gate tracks are a perfect collection point. Second, check the rollers on the gate carriage. Each roller should spin without visible wobble and should contact the track across its full width. A roller that’s seized and sliding instead of rolling creates flat spots, and a flat-spotted roller means a thumping gate that eventually shakes a limit switch loose.
Photo-Eye Alignment: The 2-Inch Drift Test
A photo-eye is the infrared beam that sits on each side of the gate opening near ground level and stops the gate if something crosses the path. On a properly aligned pair, the sending eye points directly at the receiving eye, and the receiving eye shows a solid indicator light. Misalignment by as little as 2 inches is enough to cause intermittent faults.
The drift test:
- Locate both photo-eyes. On most residential gates in Camarillo they sit 12 to 18 inches off the ground, in black or gray plastic housings.
- Check the indicator lights. A solid green or solid red light on the receiving eye typically means aligned. A flickering light, no light, or a flashing pattern means the beam is not fully received.
- If the light is solid, walk slowly through the beam while the gate is closed. The operator should register the interruption. If nothing happens, the beam may be bypassed at the board, which is a safety issue.
- If the light is flashing or off, look at the physical position of each eye. A slight bump from a car tire, a weed trimmer, or settling soil can tilt one eye by a degree or two, and at a 12-foot gate opening, that tiny tilt translates to a 2- to 4-inch miss at the opposite post.
Do not attempt to re-aim a photo-eye by bending the bracket by hand while the operator is live. The correct adjustment is a screwdriver adjustment on the bracket, and it’s the kind of thing we’ll handle on a service call. What you’re doing here is documentation: if the beam is off, note which side and how far, and take a photo of the indicator light state. A technician can use that photo to diagnose the issue before they even put a tool on it.
This one matters for safety, full stop. A gate that reverses properly because the photo-eye is aligned is a gate that doesn’t crush a dog, a kid, or a delivery driver. In our experience, photo-eye bypasses are the most common code violation we correct on resale inspections in Camarillo.
Terminal Blocks and Wiring: What Marine-Layer Corrosion Looks Like
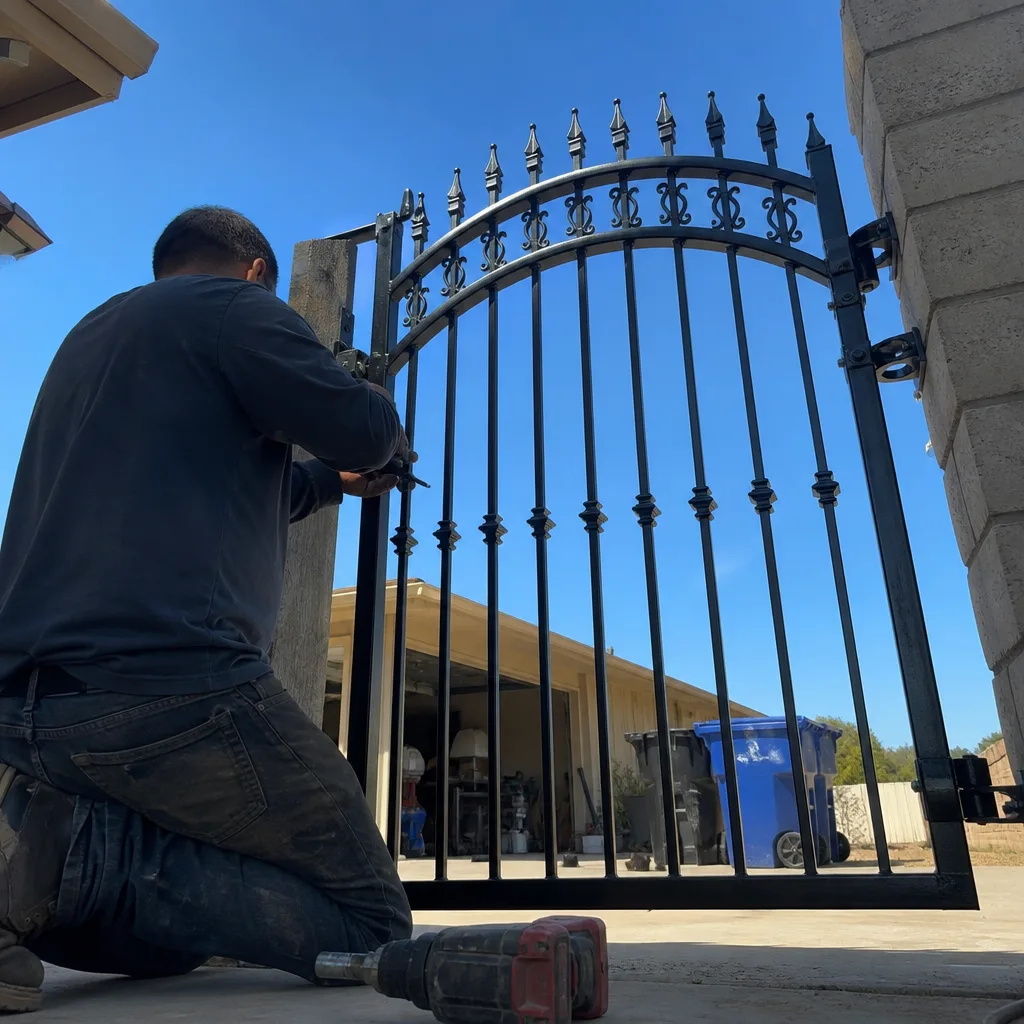
Camarillo sits close enough to the Pacific that the marine layer rolls in most summer mornings and lingers until noon. That moisture, combined with coastal air, is rough on low-voltage wiring, and the failure pattern we see most often is corrosion on terminal blocks inside the operator housing. A corroded terminal looks like a dull white or green crust forming where the wire meets the screw, and it reads as heat, resistance, and eventually intermittent opens.
What to look for with your flashlight:
- White or green crust on any terminal screw or wire end. This is the classic sign of moisture getting into the housing.
- Darkened or discolored insulation within an inch of the terminal. Heat from resistance travels up the copper and bakes the jacket.
- Loose wire at any terminal, even by an eighth of a turn. A loose connection vibrates, arcs microscopically, and loses contact.
- Water beads or condensation on the inside of the cover. This tells you the gasket is failing, and the fix is environmental before it’s electrical.
This is where the line between observation and correction sits hard. You can photograph a corroded terminal. You can note which wire color is affected. You can report whether the screw turns freely. But do not clean the terminal, do not re-tighten a live connection, and do not spray contact cleaner into a powered enclosure. Corrosion removal on a gate board often requires removing the wire, cleaning the terminal, applying dielectric grease, and re-torquing, and that’s a technician’s job with the power verified dead first.
We work on gates with Elite and Mighty Mule operators all over Camarillo, and the terminal block is where those units show their age first. The electronics inside a modern gate operator are sealed and hardened, but the wiring points where field connections land are not. A homeowner who catches corrosion at the green-crust stage is looking at a simple terminal rebuild. A homeowner who misses it until the gate stops responding is often looking at a control board replacement.
How to Log Findings So a Technician Can Actually Use Them
Here is the piece most maintenance guides skip: what you do with the numbers after you measure them. Browse our more guides & resources for related maintenance topics. A checklist that lives in your head is an opinion. A checklist with measurements and photos is a diagnostic record, and it’s the single most useful thing a homeowner can hand a technician before the truck even arrives.
What a technician at our Gate Repair services wants to see includes:
- The actual measurements, not adjectives. “Sag 9 mm at latch edge” is actionable. “Gate sags a little” is a slogan.
- A photo of the operator as a whole, taken from 6 feet back with the cover on, so the tech knows which motor they’re dealing with before the visit.
- A photo of the data plate or model label. This is on the side or underside of the operator. It lists the model number, voltage, and sometimes the manufacture date.
- A photo of any failing component with a ruler or coin in frame for scale. A green crust on a terminal block looks very different at 2 inches than it does at 12.
- A photo of the gate in its full open and full closed positions from the same angle, same distance. This tells us everything about stop placement and limit setting.
- The log written in a note app, then exported as a PDF and stored in a folder that backs up to the cloud. Names like “Gate Maintenance – Date.” Not “gate stuff.”
Where to store it so it survives a phone upgrade: email it to yourself with a subject line that includes the address and the date. Every time you run the checklist, email yourself the new report. Gmail doesn’t die when an iPhone is dropped in a pool. We have homeowners in Camarillo who have six years of gate records because they did this, and homeowners who lost everything because a photo roll got wiped. Do the email.
One more note: this same record becomes valuable at resale. A buyer’s agent in Ventura County is now asking a disclosure question that was rare five years ago: “Is there an automated gate on the property, what brand is the operator, and when was it last serviced?” A homeowner who can answer that question with a written log and photo record is in a materially better negotiating position than one who answers “I think it works.”
Camarillo Maintenance Frequency Table
Camarillo puts two distinct stress patterns on gate hardware every year. The dry Santa Ana season, roughly September through November, throws debris at tracks, pushes fine dust into hinge bushings, and bakes plastics in UV. The marine-layer winter, roughly December through March, brings condensation, corrosion, and the slight post-shift that comes with wet clay soil. A maintenance schedule built for Phoenix or Seattle misses both patterns. Here’s what we recommend for Camarillo specifically:
| Task | Frequency | Pass/Fail Threshold |
|---|---|---|
| Full visual inspection (all items below) | Twice per year, late spring and late fall | No task fails below listed threshold |
| Gate sag measurement | Twice per year, after heavy rain events | Under 6 mm at latch edge |
| Chain slack measurement (slide gates) | Twice per year, after Santa Ana season | Under 1 inch total deflection |
| Track debris clearing | Monthly during fall, quarterly otherwise | Track clear along full length |
| Battery voltage reading (solar/backup) | Quarterly if gate is solar; twice per year otherwise | 12.4V or higher at rest |
| Photo-eye alignment check | Twice per year, after any landscaping work | Solid indicator light; beam interrupts properly |
| Terminal block corrosion inspection | Once per year, ideally in spring after marine layer peaks | No crust, no darkening, no loose screws |
| Full documentation update | Every inspection, every time | Photos emailed to self; log updated |
Tie this schedule to daylight instead of dates. Run the full checklist the same weekend we spring forward and the same weekend we fall back. That puts one inspection at the end of marine-layer season and one at the start of Santa Ana season, which matches Camarillo’s actual stress pattern better than any calendar date.
Common Mistakes to Avoid
- Ignoring a measurement because “the gate still works.” Sag, chain slack, and low battery voltage are leading indicators, not trailing ones. By the time the symptom is obvious, the part is usually beyond repair. Catch a 7 mm sag now and you replace bushings. Miss it for six months and you replace a hinge post footing.
- Doing electrical work while the operator is energized. A 24V control circuit is less dangerous than 120V, but a short across the wrong two terminals can still destroy a control board. Every terminal task on this checklist is observe, photograph, and log, not fix.
- Reasons the gate reverses but never checking whether the photo-eye is actually the cause. A gate that reverses when it shouldn’t is often a limit-switch problem, not a photo-eye problem, and the two require different fixes. Log the symptom, note when it happens in the travel cycle, and photograph the indicator lights.
- Recording findings in a note app with no backups. A phone camera roll is not a filing system. Email your logs to yourself with the address and date in the subject line after every inspection.
- Seasonal timing that matches a generic guide instead of Camarillo’s climate. A June-only inspection schedule misses the heaviest debris load of the Santa Ana season entirely. Run your full checklist at both annual time changes.
- Clearing a slide gate track with a pressure washer aimed at the carriage. High-pressure water forces grit into the roller bearings and the chain. Use a leaf blower, a broom, or a gentle hose stream. Pressure washers belong on concrete, not on gate hardware.
When to Call a Professional
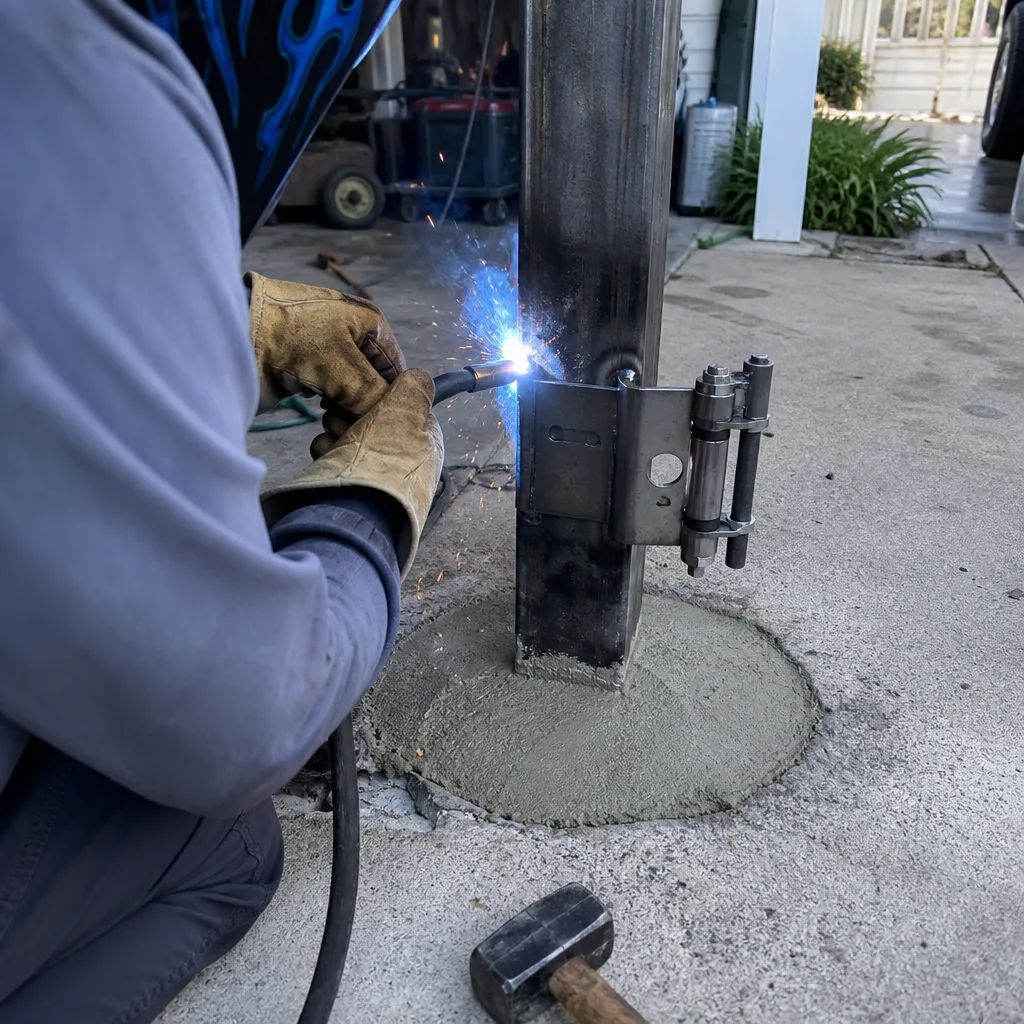
Call a gate technician when any of these happens: a measurement falls outside the pass/fail threshold listed in this guide and you’ve confirmed it with a second reading; the operator makes a grinding, clicking, or buzzing sound that wasn’t there before; the gate reverses mid-travel for no visible reason; any terminal shows green or white corrosion; or the gate has made contact with a vehicle, a person, or a pet. Also call before you attempt any repair that involves removing a cover from an energized enclosure, re-tensioning a spring, or adjusting a limit switch on a motor under load. Vance Gate Repair Camarillo offers free estimates in Camarillo, and the written price is handed to you before any work starts. Call (805) 516-0855 and a live person will answer, day or night. For a deeper dive into what a repair visit actually covers, see our gate repair in Camarillo page.
Frequently Asked Questions
Run the full maintenance checklist twice per year in Camarillo, once at the spring time change and once at the fall time change. These two points bracket the marine-layer season and the Santa Ana season, which are the two periods that create the most gate stress here. Additionally, clear slide gate tracks of debris monthly during the fall. If your gate runs on solar or has a backup battery, check battery voltage quarterly. A copy of this schedule plus full Vance Gate Repair Camarillo home details are available by phone.
A homeowner-run inspection costs nothing beyond a multimeter, which runs $25 to $50. A professional maintenance visit in Camarillo, which includes all the measurements above plus cleaning, lubrication, limit-switch verification, and photo documentation, runs between $180 and $350 depending on the gate type and operator brand. On motors we service, from gate motor and opener systems by Elite to Mighty Mule and LiftMaster, the visit produces the same written record we require on every job. Call (805) 516-0855 for an exact quote; estimates are free.
Yes, for certain mechanical tasks: tightening exposed hinge bolts, clearing track debris, lubricating hinges with a dry silicone spray. No, for anything that touches wiring, terminals, springs under tension, or limit switches on an energized operator. The line is consistent: if the task requires a screwdriver on a live circuit or a tool on a tensioned spring, the risk moves from “safe for a careful homeowner” to “not worth the consequences of a mistake.” A documented finding, photographed and emailed to yourself, is the right output of a DIY inspection.
A full gate installation in Camarillo from Vance Gate Repair includes the gate structure, hinges and posts, the operator, all low-voltage wiring, the photo-eye safety system, and a written price before the first tool is picked up. The price is drafted on site, handed to you as a line-item scope, and agreed before any work begins. After installation, you receive the same documented photo record we leave on every job: what was built, what was set, and what the limit switch positions were at handoff. Call (805) 516-0855 to schedule a free measure.
This pattern usually comes from thermal expansion, and it’s more visible during Camarillo’s hot Santa Ana afternoons. A gate leaf that measures fine in the cool of the morning can grow by a few millimeters in full afternoon sun, and if the pressure is pushing on a marginal limit switch or a weak hinge, the operator sees the extra resistance and faults. The fix is usually a limit-switch adjustment or a hinge shim, but diagnosing it correctly means measuring the gap at the hottest point of the day, not at the most convenient.
Yes. Vance Gate Repair Camarillo handles the full electrical scope on a new automated gate, including the power run from the house panel to the operator, the low-voltage control wiring, the photo-eye placement, and the safety edges where they are required by code. The entire scope is itemized in the written price before work begins, following what we call Haven Standard Clause 1: have it in writing. A named technician with a photo and a record of every setting leaves the job site when the work is complete. Call (805) 516-0855 and a live person will answer, any hour.
The Bottom Line
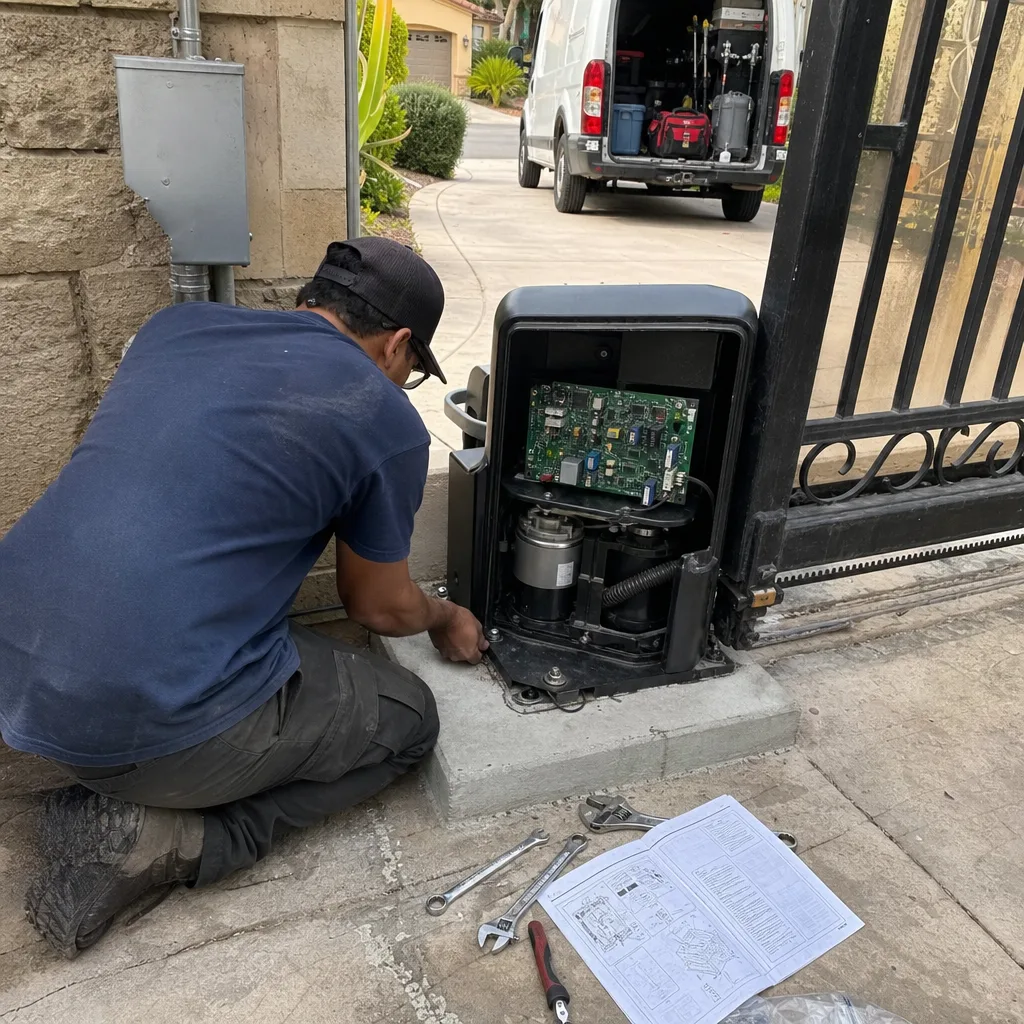
A gate maintenance checklist only works when each item has a number attached. Camarillo homeowners who run a twice-yearly inspection with a tape measure and a multimeter will catch hinge sag under 6 millimeters, battery voltage below 12.4 volts, chain slack past 1 inch, photo-eye drift beyond 2 inches, and marine-layer corrosion on terminal blocks months before those problems become gate failures. The record you generate, a measurement log with dated photos emailed to yourself, doubles as the documentation any technician needs to quote accurately and as resale evidence when a Ventura County buyer’s agent asks the automated gate disclosure question. Run this checklist at both time changes, keep the results, and call (805) 516-0855 for a free estimate in Camarillo when a number falls outside spec.
Written by Adrian Vance, Owner at Vance Gate Repair Camarillo, serving Camarillo since 2014.